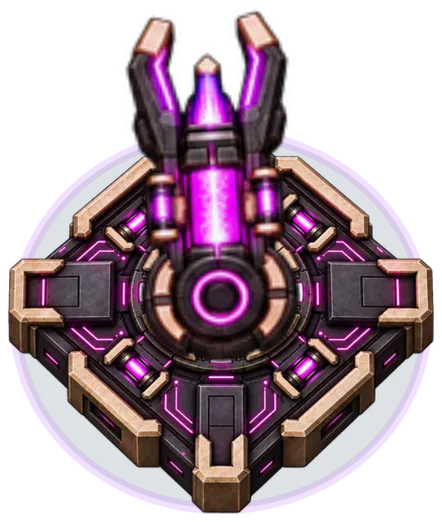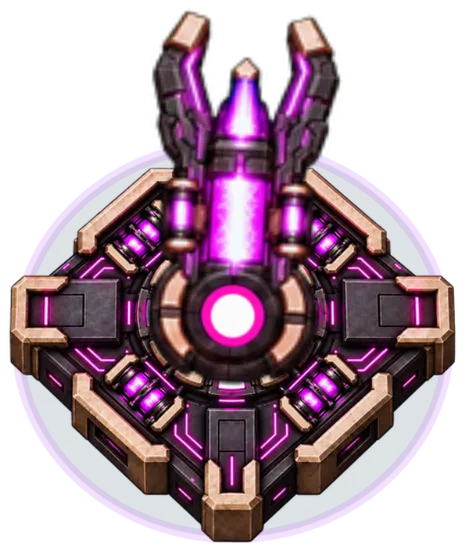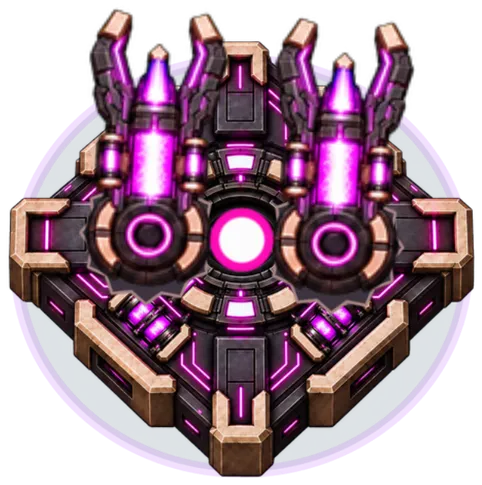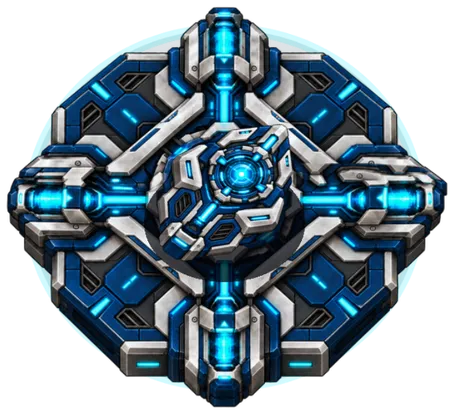
01 Field Guide // Towers

Ten towers. Every one moves the route.

In Choke Point: Tower Defense, every tower is also a wall. Ground Machines take the shortest open route to your Firewall and re-plan it around each one you build, so where you place a tower decides where they walk, and which of your guns get to fire.

  1. Block Each tower takes a tile. Ground Machines re-plan around it, but you can never seal the route.
  2. Bend Steer the route through the choke point. When it runs through, the choke point goes live, and ground kills there charge Choke Control.
  3. Upgrade Upgrades open as the waves climb, from wave 11. Eight of the ten gain a named special at level 3.
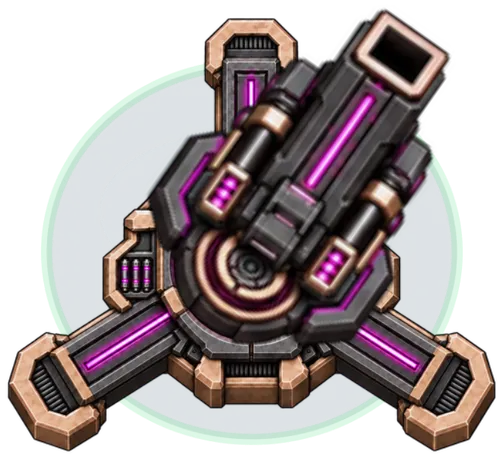
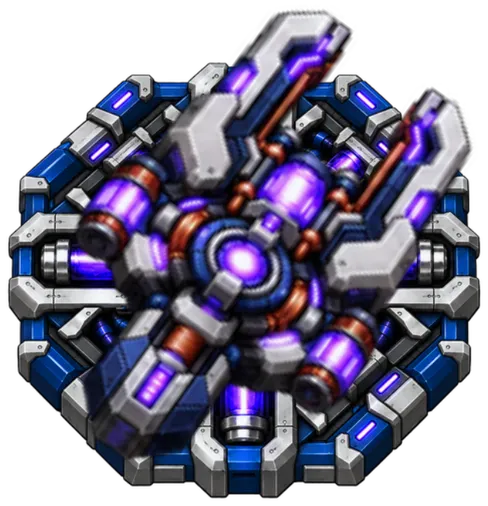
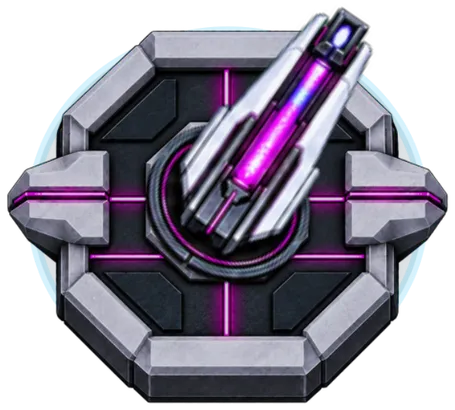
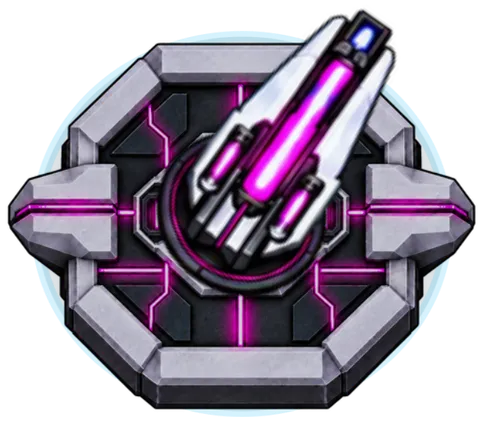
Sentry Post at level 1, rendered from the game: a white-steel octagonal mount carrying an armored gun lit by magenta rails, turned toward its target.
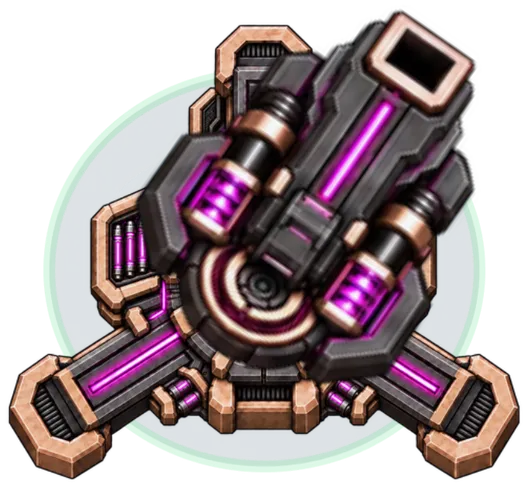
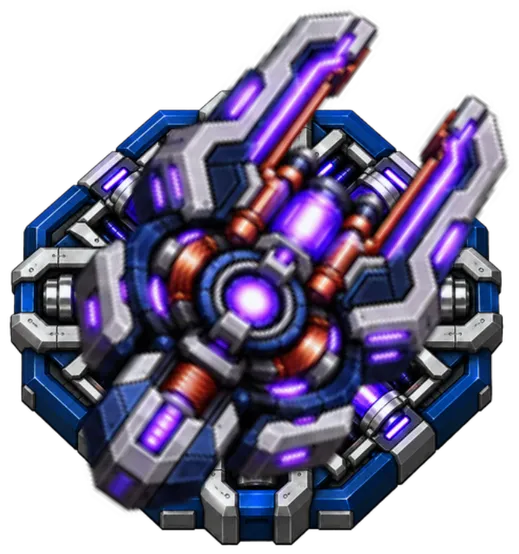
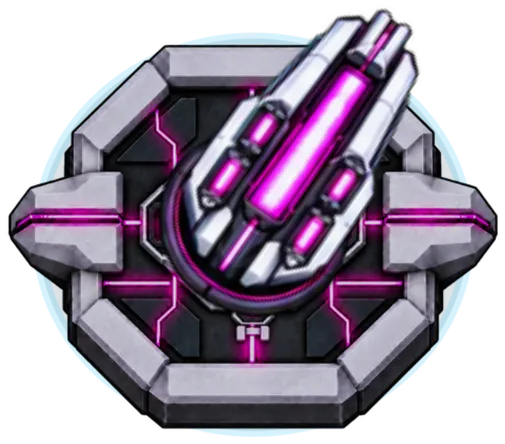
Sentry Post at level 2, rendered from the game: a white-steel octagonal mount carrying an armored gun lit by magenta rails, turned toward its target.
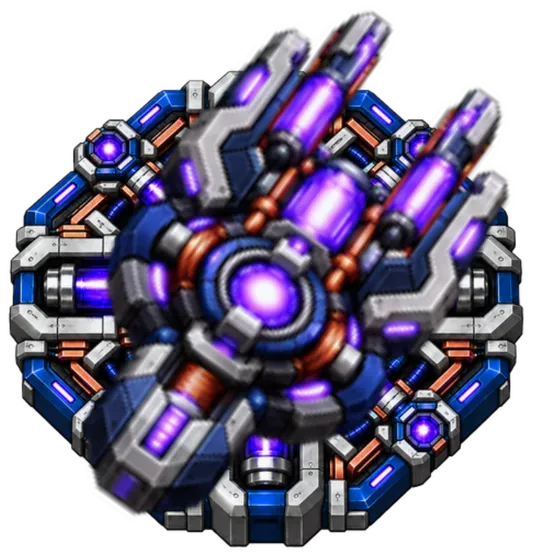
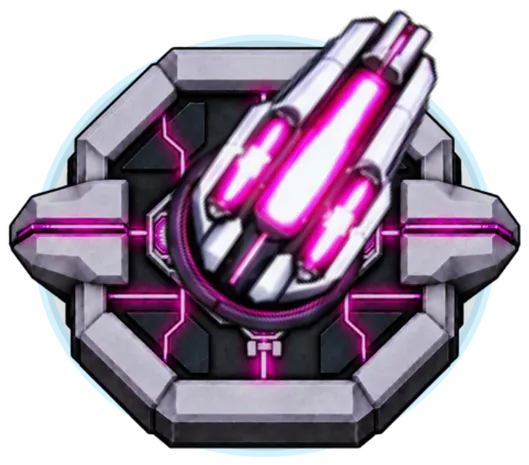
Sentry Post at level 3, rendered from the game: a white-steel octagonal mount carrying an armored gun lit by magenta rails, turned toward its target.
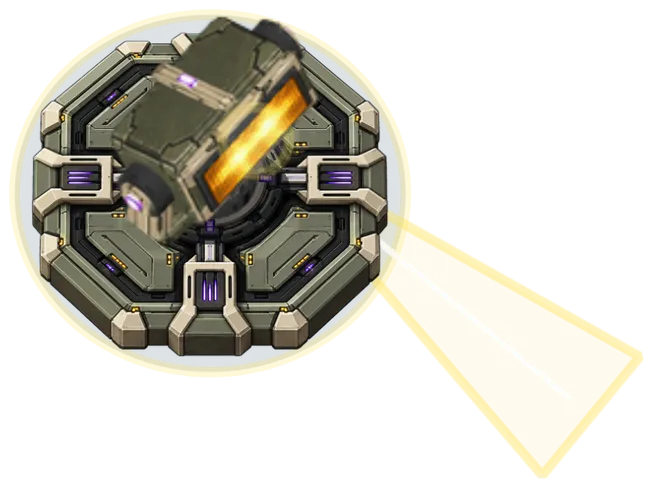
Sentry Post at level 4, rendered from the game: a white-steel octagonal mount carrying an armored gun lit by magenta rails, turned toward its target.
SENTRY L1 L2 L3 L4
In-game render of the live tower: base, head and idle animation. Every level is drawn at one scale, so it grows as it does on the battlefield.
Upgrade level for the Sentry Post

01 / 10 Unlocks at wave 1

Sentry Post

Precision • Ground

Steady fire against one ground enemy at a time.

Place Sentries along bends so they can keep firing. Unified Targeting is needed to hit aircraft.

Build cost
25G
Unlocks
Wave 1
Max level
4
Level 3 special
Overcharge Shot

Combat telemetry · Level 1

Build
25G
From wave
1
Hull
100 HP
Primary DPS
Interval
Reach
  • Role: Direct damage Fast, efficient fire against one ground enemy.
  • Tip: Use with Slow or freeze enemies so it keeps firing on the same target.
  • Warning: Air targeting Ground-only; Unified Targeting temporarily enables anti-air.

Combat telemetry · Level 2

Upgrade
29G
From wave
11
Hull
150 HP
Primary DPS
Interval
Reach
  • Role: Direct damage Fast, efficient fire against one ground enemy.
  • Tip: Use with Slow or freeze enemies so it keeps firing on the same target.
  • Warning: Air targeting Ground-only; Unified Targeting temporarily enables anti-air.

Combat telemetry · Level 3

Upgrade
60G
From wave
21
Hull
200 HP
Primary DPS
Interval
Reach
  • Role: Direct damage Fast, efficient fire against one ground enemy.
  • Tip: Overcharge shot Charged special fires 3 full-strength shots. Read for Supercharge paths.
  • Warning: Air targeting Ground-only; Unified Targeting temporarily enables anti-air.

Combat telemetry · Level 4

Upgrade
250G
From wave
66
Hull
250 HP
Primary DPS
Interval
Reach
  • Role: Direct damage Fast, efficient fire against one ground enemy.
  • Tip: Overcharge shot Charged special fires 3 full-strength shots. Read for Supercharge paths.
  • Warning: Air targeting Ground-only; Unified Targeting temporarily enables anti-air.

Field Guide

Abilities
LEVEL 3 OVERCHARGE SHOT fires a three-round burst after the tower deals enough damage. From Wave 76, choose a Supercharge during preparation: Rapid Fire, Piercing Rounds, Ricochet. Open the tower’s Supercharge picker during preparation to compare each tradeoff. Standard keeps the original behavior and uses no slot.
Counters
Reliable ground damage. Ground-only unless Unified Targeting is active.
Tactics
A strong, affordable choice against single targets.
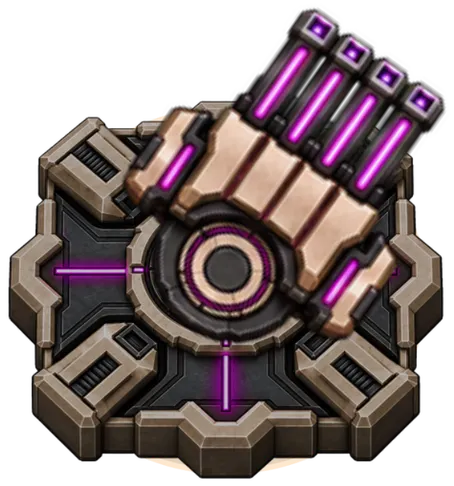
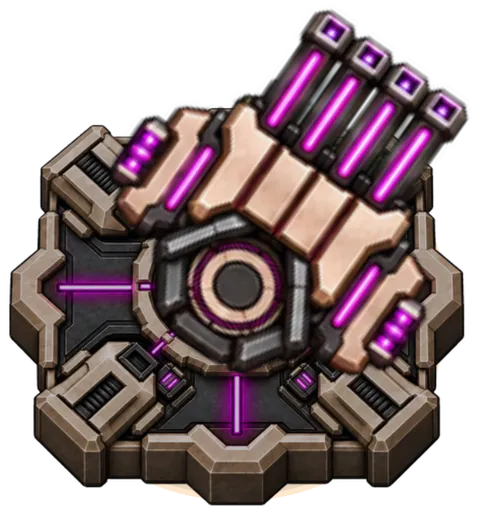
Flak Nest at level 1, rendered from the game: a bronze-plated square emplacement with a bank of magenta-tipped flak barrels.
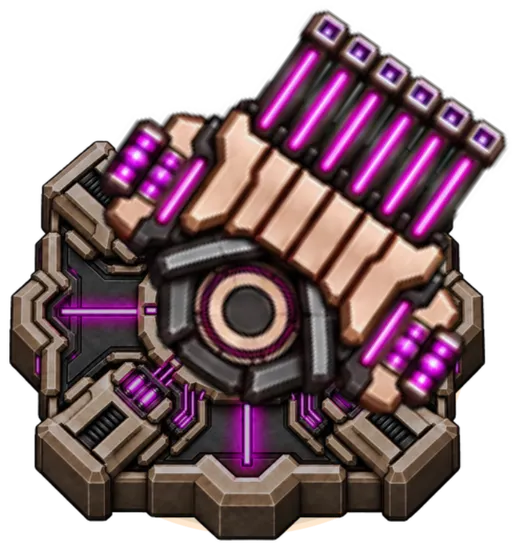
Flak Nest at level 2, rendered from the game: a bronze-plated square emplacement with a bank of magenta-tipped flak barrels.
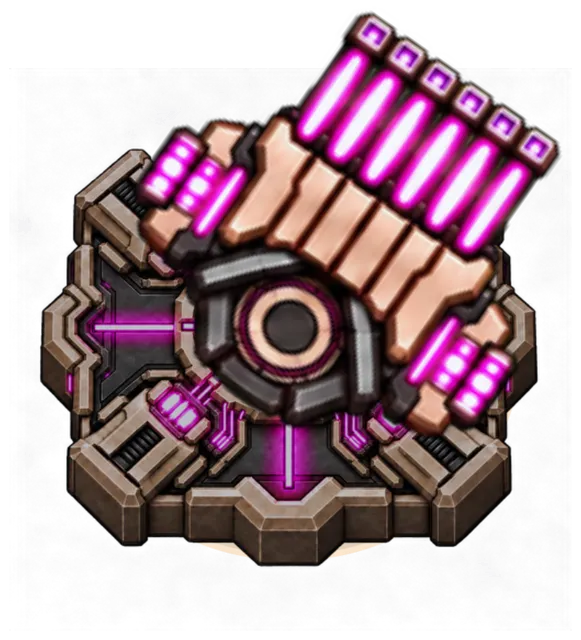
Flak Nest at level 3, rendered from the game: a bronze-plated square emplacement with a bank of magenta-tipped flak barrels.
Flak Nest at level 4, rendered from the game: a bronze-plated square emplacement with a bank of magenta-tipped flak barrels.
FLAK L1 L2 L3 L4
In-game render of the live tower: base, head and idle animation. Every level is drawn at one scale, so it grows as it does on the battlefield.
Upgrade level for the Flak Nest

02 / 10 Unlocks at wave 2

Flak Nest

Splash • Ground + Air

Explosive bursts hit groups of ground enemies and flying Drones.

Cover crowded routes and Drone flight paths. Overlap Flak ranges to close gaps.

Build cost
35G
Unlocks
Wave 2
Max level
4
Level 3 special
Saturation Blast

Combat telemetry · Level 1

Build
35G
From wave
2
Hull
100 HP
Primary DPS
Interval
Reach
  • Critical: Primary anti-air Hits Drones from level 1; splash clears clustered aircraft.
  • Tip: Best against Airborne enemies and tightly clustered groups.
  • Warning: Resisted by Riot armor reduces its splash damage by 70%.

Combat telemetry · Level 2

Upgrade
41G
From wave
11
Hull
150 HP
Primary DPS
Interval
Reach
  • Critical: Primary anti-air Hits Drones from level 1; splash clears clustered aircraft.
  • Tip: Best against Airborne enemies and tightly clustered groups.
  • Warning: Resisted by Riot armor reduces its splash damage by 70%.

Combat telemetry · Level 3

Upgrade
90G
From wave
21
Hull
200 HP
Primary DPS
Interval
Reach
  • Critical: Primary anti-air Hits Drones from level 1; splash clears clustered aircraft.
  • Tip: Saturation blast Charged special doubles damage and blast radius. Read for Supercharge paths.
  • Warning: Resisted by Riot armor reduces its splash damage by 70%.

Combat telemetry · Level 4

Upgrade
350G
From wave
66
Hull
250 HP
Primary DPS
Interval
Reach
  • Critical: Primary anti-air Hits Drones from level 1; splash clears clustered aircraft.
  • Tip: Saturation blast Charged special doubles damage and blast radius. Read for Supercharge paths.
  • Warning: Resisted by Riot armor reduces its splash damage by 70%.

Field Guide

Abilities
LEVEL 3 SATURATION BLAST doubles damage and blast radius after the tower deals enough damage. From Wave 76, choose a Supercharge during preparation: Air Guard, Scatterburst, Shrapnel Field. Open the tower’s Supercharge picker during preparation to compare each tradeoff. Standard keeps the original behavior and uses no slot.
Counters
Primary Drone and swarm counter; Riot armor reduces its splash damage by 70%.
Tactics
Place where groups overlap, not for isolated armored targets.
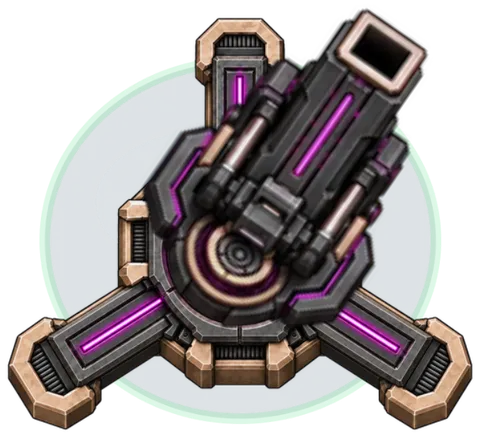
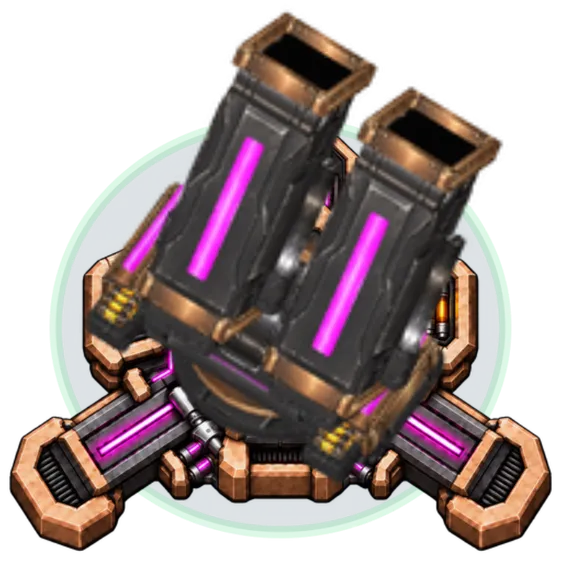
Mortar Team at level 1, rendered from the game: a dark three-legged mount with magenta-lit struts and a pair of square mortar tubes.
Mortar Team at level 2, rendered from the game: a dark three-legged mount with magenta-lit struts and a pair of square mortar tubes.
Mortar Team at level 3, rendered from the game: a dark three-legged mount with magenta-lit struts and a pair of square mortar tubes.
Mortar Team at level 4, rendered from the game: a heavy bronze-and-black siege mortar with two wide tubes on magenta-lit legs.
MORTAR L1 L2 L3 L4
In-game render of the live tower: base, head and idle animation. Every level is drawn at one scale, so it grows as it does on the battlefield.
Upgrade level for the Mortar Team

03 / 10 Unlocks at wave 3

Mortar Team

Long Range • Ground

Heavy shots break through armor, but fire slowly.

Aim its range over long stretches of route. Add Sentries or Flak to catch fast enemies.

Build cost
60G
Unlocks
Wave 3
Max level
4
Level 3 special
Direct Strike

Combat telemetry · Level 1

Build
60G
From wave
3
Hull
100 HP
Primary DPS
Interval
Reach
  • Role: Heavy direct fire Long-range shells hit hard and ignore walls for targeting.
  • Tip: Use with Fast towers or control effects cover its slow firing cycle.
  • Warning: Air targeting Ground-only; Unified Targeting temporarily enables anti-air.

Combat telemetry · Level 2

Upgrade
69G
From wave
11
Hull
150 HP
Primary DPS
Interval
Reach
  • Role: Heavy direct fire Long-range shells hit hard and ignore walls for targeting.
  • Tip: Use with Fast towers or control effects cover its slow firing cycle.
  • Warning: Air targeting Ground-only; Unified Targeting temporarily enables anti-air.

Combat telemetry · Level 3

Upgrade
140G
From wave
21
Hull
200 HP
Primary DPS
Interval
Reach
  • Role: Heavy direct fire Long-range shells hit hard and ignore walls for targeting.
  • Tip: Direct strike Charged shell doubles damage. W76 offers Cluster Barrage; see Read for paths.
  • Warning: Air targeting Ground-only; Unified Targeting temporarily enables anti-air.

Combat telemetry · Level 4

Upgrade
550G
From wave
66
Hull
250 HP
Primary DPS
Interval
Reach
  • Critical: Siege mortar Two shells per salvo; the second follows after 0.3s at 60% damage.
  • Role: Special choice Standard doubles the lead shell; W76 adds Cluster Barrage: 5×82.5% splash hits.
  • Tip: Heavy ground fire Ignores walls for targeting. 2.5s between salvos.

Field Guide

Abilities
LEVEL 3 DIRECT STRIKE doubles the lead shell’s damage after the tower deals enough damage. LEVEL 4 SIEGE MORTAR adds a second shell after 0.3s at 60% damage. It follows the same legal target or retargets if needed. Cluster Barrage trades Direct Strike for up to 5 nearby targets at 82.5% damage each, using splash rules. From Wave 76, choose a Supercharge during preparation: Cluster Barrage, Siegebreaker, Concussion Shell. Open the tower’s Supercharge picker during preparation to compare each tradeoff. Standard keeps the original behavior and uses no slot.
Counters
Its long-range targeting ignores walls, but needs Unified Targeting to hit aircraft.
Tactics
It hits hard but fires slowly, so cover it with faster towers.
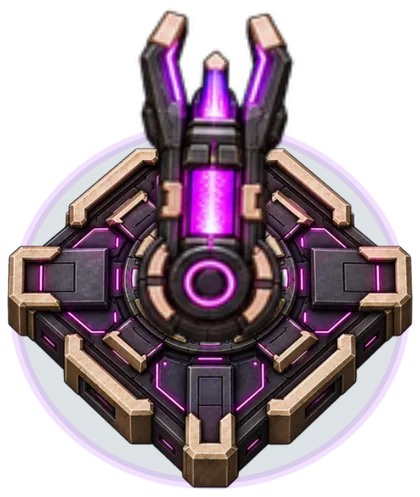
Razorwire at level 1, rendered from the game: a diamond-shaped bronze mount with a glowing magenta coil emitter between two prongs.
Razorwire at level 2, rendered from the game: a diamond-shaped bronze mount with a glowing magenta coil emitter between two prongs.
Razorwire at level 3, rendered from the game: a diamond-shaped bronze mount with a glowing magenta coil emitter between two prongs.
Razorwire at level 4, rendered from the game: a diamond-shaped bronze mount with two magenta coil emitters flanking a bright core.
RAZORWIRE L1 L2 L3 L4
In-game render of the live tower: base, head and idle animation. Every level is drawn at one scale, so it grows as it does on the battlefield.
Upgrade level for the Razorwire

04 / 10 Unlocks at wave 4

Razorwire

Control • Ground

Slows and damages Machines as they pass.

Place Razorwire where several Towers can fire on the slowed enemies.

Build cost
20G
Unlocks
Wave 4
Max level
4
Level 3 special
Full Lockdown

Combat telemetry · Level 1

Build
20G
From wave
4
Hull
100 HP
Primary DPS

Interval Continuous

Reach
  • Role: Slows enemies 35% slow while ground enemies touch the coil.
  • Tip: Use with Cover the same road section with damage towers.
  • Warning: Air targeting Aircraft need Unified Targeting to receive its slow and contact damage.

Combat telemetry · Level 2

Upgrade
23G
From wave
11
Hull
150 HP
Primary DPS

Interval Continuous

Reach
  • Role: Slows enemies 41% slow while ground enemies touch the coil.
  • Tip: Use with Cover the same road section with damage towers.
  • Warning: Air targeting Aircraft need Unified Targeting to receive its slow and contact damage.

Combat telemetry · Level 3

Upgrade
45G
From wave
21
Hull
200 HP
Primary DPS

Interval Continuous

Reach
  • Role: Slows enemies 47% slow while ground enemies touch the coil.
  • Tip: Full lockdown Charged special nearly stops targets for 3s. W76 offers Dragnet; see Read for paths.
  • Warning: Air targeting Aircraft need Unified Targeting to receive its slow and contact damage.

Combat telemetry · Level 4

Upgrade
450G
From wave
66
Hull
250 HP
Primary DPS

Interval Continuous

Reach
  • Critical: Shredder coil After 1s, ground enemies take 15% more tower damage.
  • Role: Control 47% slow. Full Lockdown instantly Shreds. Read for wider Dragnet control.
  • Tip: Field rules Shredded lasts 2s after leaving. Coils refresh it; the bonus never stacks.

Field Guide

Abilities
LEVEL 3 FULL LOCKDOWN nearly stops enemies for 3s after enough contact time. LEVEL 4 adds Shredder Coil: exposed ground enemies take 15% more tower damage. Dragnet replaces Full Lockdown with 6s of 50% extra reach and 65% slow, including new arrivals. Shredded retains its exposure time. From Wave 76, choose a Supercharge during preparation: Dragnet, Cutting Coil, Tripwire. Open the tower’s Supercharge picker during preparation to compare each tradeoff. Standard keeps the original behavior and uses no slot.
Counters
Sustained slow and contact damage; aircraft require Unified Targeting.
Tactics
Build at bends and concentrated kill zones.
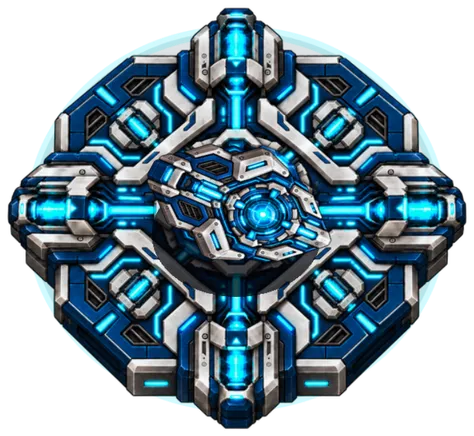
EMP Tower at level 1, rendered from the game: a round blue pylon laced with glowing cyan circuitry around a bright core, with no turret.
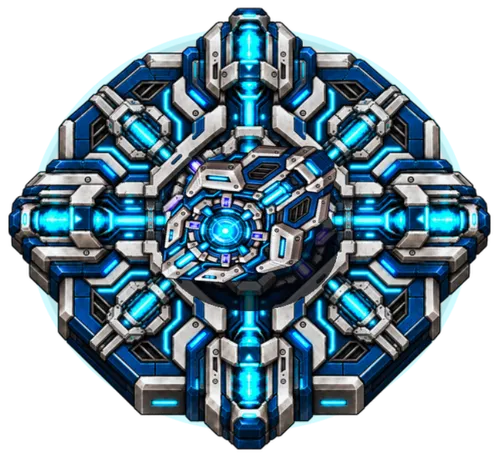
EMP Tower at level 2, rendered from the game: a round blue pylon laced with glowing cyan circuitry around a bright core, with no turret.
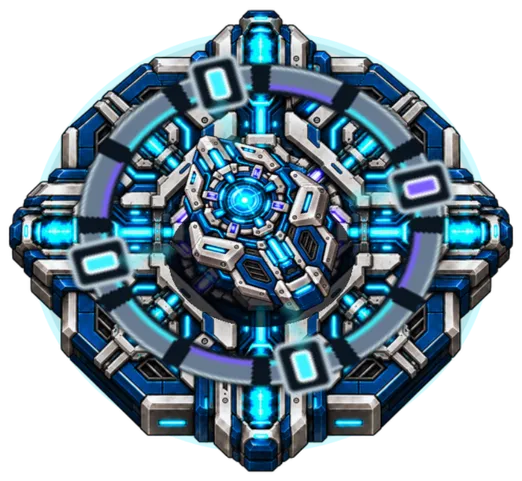
EMP Tower at level 3, rendered from the game: a round blue pylon laced with glowing cyan circuitry around a bright core, with no turret.
EMP Tower at level 4, rendered from the game: a round blue pylon laced with glowing cyan circuitry around a bright core, with no turret.
EMP L1 L2 L3 L4
In-game render of the live tower: base, head and idle animation. Every level is drawn at one scale, so it grows as it does on the battlefield.
Upgrade level for the EMP Tower

05 / 10 Unlocks at wave 5

EMP Tower

Suppression • Ground + Air

Pulses damage nearby enemies and interrupt many special abilities.

Cover dangerous enemies with EMP, then add damage Towers to finish them.

Build cost
45G
Unlocks
Wave 5
Max level
4
Level 3 special
Overload Pulse

Combat telemetry · Level 1

Build
45G
From wave
5
Hull
100 HP
Primary DPS
Interval
Reach
  • Critical: Disrupts abilities Suppresses hostile abilities for 2.3s.
  • Note: Ground + air Pulses damage both ground enemies and Drones from level 1.
  • Tip: Best against Splitters, Breachers, clustered swarms and boss attack channels.

Combat telemetry · Level 2

Upgrade
52G
From wave
11
Hull
150 HP
Primary DPS
Interval
Reach
  • Critical: Disrupts abilities Suppresses hostile abilities for 2.6s.
  • Note: Ground + air Pulses damage both ground enemies and Drones from level 1.
  • Tip: Best against Splitters, Breachers, clustered swarms and boss attack channels.

Combat telemetry · Level 3

Upgrade
100G
From wave
21
Hull
200 HP
Primary DPS
Interval
Reach
  • Critical: Disrupts abilities Suppresses hostile abilities for 3.0s.
  • Note: Ground + air Pulses damage both ground enemies and Drones from level 1.
  • Tip: Overload pulse Charged pulse deals 36 damage with double suppression.

Combat telemetry · Level 4

Upgrade
500G
From wave
66
Hull
250 HP
Primary DPS
Interval
Reach
  • Critical: Disrupts abilities Suppresses abilities for 3.0s; strips shields and hits ground + air.
  • Note: Ion storm 25% ground + air slow for 2s; Overload leaves 4s.
  • Tip: Field rules Strongest slow wins. Leaving the field or jamming the EMP ends its slow.

Field Guide

Abilities
Interrupts channels and suppresses Machine abilities. LEVEL 3 OVERLOAD PULSE deals 36 damage with double suppression. LEVEL 4 adds Ion Storm, a lingering field that slows ground enemies and aircraft. From Wave 76, choose a Supercharge during preparation: Control Overload, Wideband Pulse, Echo Pulse. Open the tower’s Supercharge picker during preparation to compare each tradeoff. Standard keeps the original behavior and uses no slot.
Counters
Stops Splitter fragments and Breacher attacks, interrupts Boss attack channels, and also hits Drones.
Tactics
Spread EMP coverage across the route instead of chasing damage. On Evacuation, a Static Front stops shield stripping and suppression in its half of the board; Pylons within 3 tiles of the core keep both.
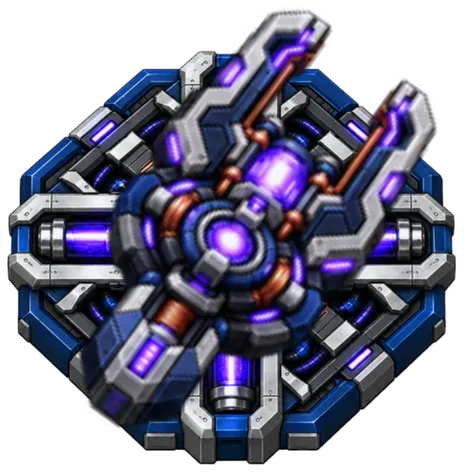
Arc Battery at level 1, rendered from the game: a blue-and-steel octagonal battery with swept arms around a glowing violet capacitor.
Arc Battery at level 2, rendered from the game: a blue-and-steel octagonal battery with swept arms around a glowing violet capacitor.
Arc Battery at level 3, rendered from the game: a blue-and-steel octagonal battery with swept arms around a glowing violet capacitor.
Arc Battery at level 4, rendered from the game: a blue-and-steel octagonal battery with swept arms around a glowing violet capacitor.
ARC L1 L2 L3 L4
In-game render of the live tower: base, head and idle animation. Every level is drawn at one scale, so it grows as it does on the battlefield.
Upgrade level for the Arc Battery

06 / 10 Unlocks at wave 9

Arc Battery

Chain • Ground

Each shot jumps between nearby ground enemies.

Place it beside a crowded stretch of route to hit several enemies per shot.

Build cost
70G
Unlocks
Wave 9
Max level
4
Level 3 special
Overload Discharge

Combat telemetry · Level 1

Build
70G
From wave
9
Hull
100 HP
Primary DPS
Interval
Reach
  • Role: Chain damage One shot reaches up to 3 nearby ground enemies.
  • Tip: Best against Packed formations within 1.4 tiles per jump.
  • Warning: Air targeting Ground-only; Unified Targeting temporarily enables anti-air.

Combat telemetry · Level 2

Upgrade
81G
From wave
11
Hull
150 HP
Primary DPS
Interval
Reach
  • Role: Chain damage One shot reaches up to 3 nearby ground enemies.
  • Tip: Best against Packed formations within 1.4 tiles per jump.
  • Warning: Air targeting Ground-only; Unified Targeting temporarily enables anti-air.

Combat telemetry · Level 3

Upgrade
160G
From wave
21
Hull
200 HP
Primary DPS
Interval
Reach
  • Role: Chain damage One shot reaches up to 3 nearby ground enemies.
  • Tip: Overload discharge Charged chain reaches 6 targets; 1.4-tile jumps. Read for Focused Discharge.
  • Warning: Air targeting Ground-only; Unified Targeting temporarily enables anti-air.

Combat telemetry · Level 4

Upgrade
500G
From wave
66
Hull
250 HP
Primary DPS
Interval
Reach
  • Role: Chain damage One shot reaches up to 4 nearby ground enemies.
  • Tip: Overload discharge Charged chain reaches 8 targets; 1.6-tile jumps. Read for Focused Discharge.
  • Warning: Air targeting Ground-only; Unified Targeting temporarily enables anti-air.

Field Guide

Abilities
Chains through 3 nearby targets. LEVEL 3 OVERLOAD DISCHARGE doubles the chain to 6. LEVEL 4 reaches 4 targets normally and 8 on Overload, with a longer jump. Focused Discharge trades the longer charged chain for two hits at 176% and 132% damage. From Wave 76, choose a Supercharge during preparation: Focused Discharge, Long Arc, Static Lock. Open the tower’s Supercharge picker during preparation to compare each tradeoff. Standard keeps the original behavior and uses no slot.
Counters
Strong against packed ground formations; aircraft require Unified Targeting.
Tactics
Needs enemies within 1.4 tiles of each other.
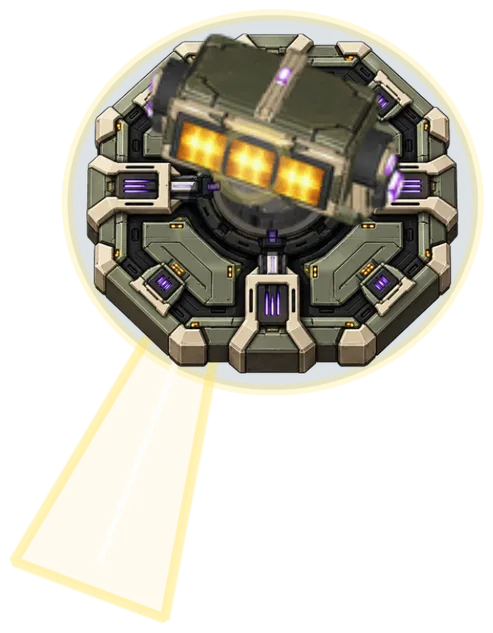
Spotlight at level 1, rendered from the game: an olive armored mount with an amber lamp head throwing a pale searchlight beam.
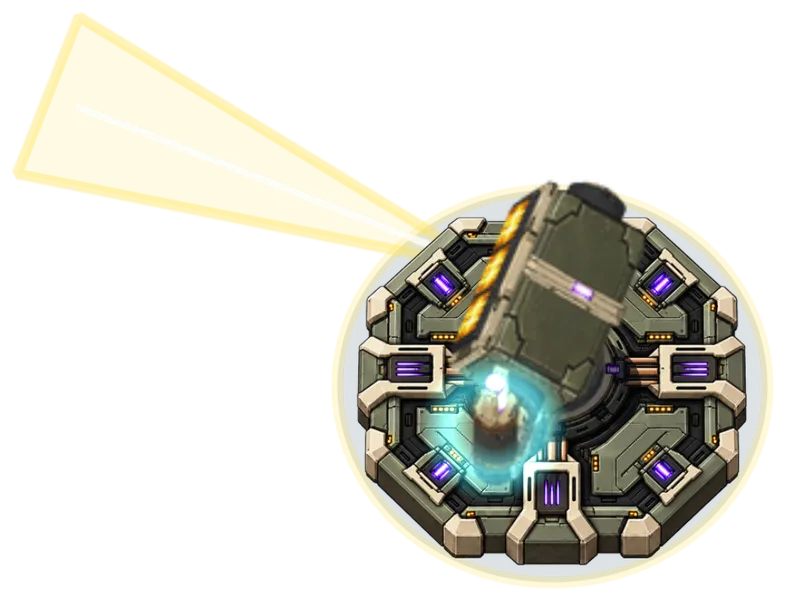
Spotlight at level 2, rendered from the game: an olive armored mount with an amber lamp head throwing a pale searchlight beam.
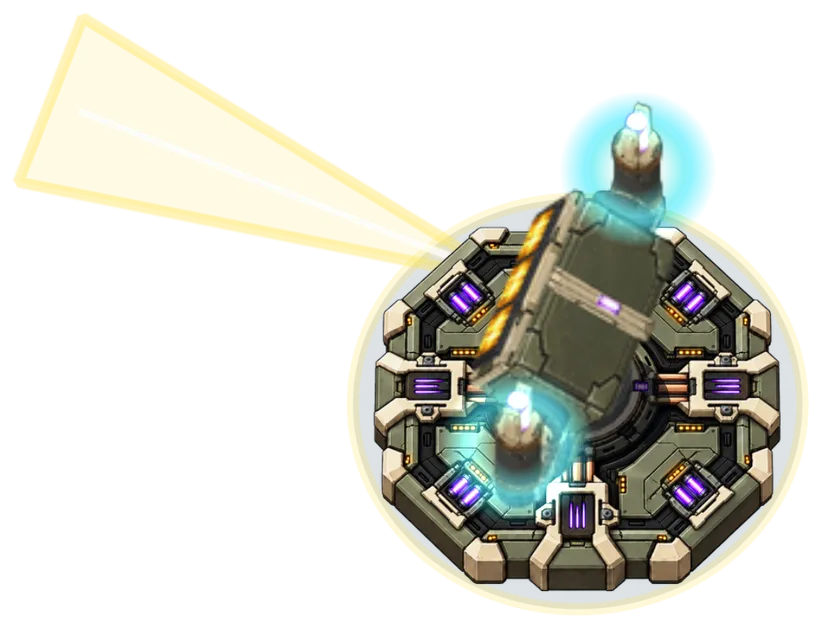
Spotlight at level 3, rendered from the game: an olive armored mount with an amber lamp head throwing a pale searchlight beam.
Spotlight at level 4, rendered from the game: an olive armored mount with an amber lamp head throwing a pale beam, flanked by two cyan-glowing anti-air guns.
SPOTLIGHT L1 L2 L3 L4
In-game render of the live tower: base, head and idle animation. Every level is drawn at one scale, so it grows as it does on the battlefield.
Upgrade level for the Spotlight

07 / 10 Unlocks at wave 12

Spotlight

Detection • L4 Anti-Air

Reveals cloaked Machines.

Cover the route with its detection field so your damage Towers can target Cloakers.

Build cost
45G
Unlocks
Wave 12
Max level
4

Combat telemetry · Level 1

Build
45G
From wave
12
Hull
100 HP
Primary DPS

Interval —

Reach
  • Critical: Reveals cloaked Reveals cloaked enemies within 3.6 tiles.
  • Tip: Use with Overlap its field with long-range damage towers. Anti-air unlocks at L4.
  • Warning: Hard mode A Jammer within 3.5 tiles stops reveal and pauses both guns.

Combat telemetry · Level 2

Upgrade
52G
From wave
12
Hull
150 HP
Primary DPS

Interval —

Reach
  • Critical: Reveals cloaked Reveals cloaked enemies within 4.0 tiles.
  • Tip: Use with Overlap its field with long-range damage towers. Anti-air unlocks at L4.
  • Warning: Hard mode A Jammer within 3.5 tiles stops reveal and pauses both guns.

Combat telemetry · Level 3

Upgrade
180G
From wave
21
Hull
200 HP
Primary DPS
Interval
Reach
  • Critical: Reveals cloaked Reveals within 4.5 tiles; Tesla deals 120 then chains 70.
  • Tip: Use with Overlap its field with long-range damage towers. Anti-air unlocks at L4.
  • Warning: Hard mode A Jammer within 3.5 tiles stops reveal and pauses both guns.

Combat telemetry · Level 4

Upgrade
550G
From wave
66
Hull
250 HP
Gnd DPS
Air DPS
Interval
Reach
  • Critical: Reveals cloaked Reveals within 4.5 tiles; Tesla deals 120 then chains 70.
  • Tip: Independent anti-air Targets swarms every 6s: 120 impact, 70 blast, 6×35 bursts. At most one fragment hit per aircraft.
  • Warning: Hard mode A Jammer within 3.5 tiles stops reveal and pauses both guns.

Field Guide

Abilities
Continuously reveals cloaked threats. LEVEL 3 charges 6s, hits the highest-HP ground enemy for 120, then chains once for 70. LEVEL 4 adds an independent anti-air gun with a secondary blast and 6 smaller explosions. From Wave 76, choose a Supercharge during preparation: Skywatch, Groundwatch, Search Grid. Open the tower’s Supercharge picker during preparation to compare each tradeoff. Standard keeps the original behavior and uses no slot.
Counters
Lets Towers target and affect cloaked Machines. In Hard mode, a Jammer within 3.5 tiles shuts it down.
Tactics
Center it over late-game kill zones, and use other Towers to remove Jammers.
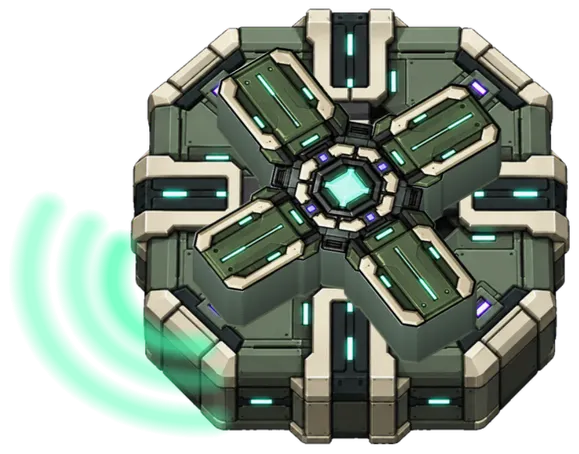
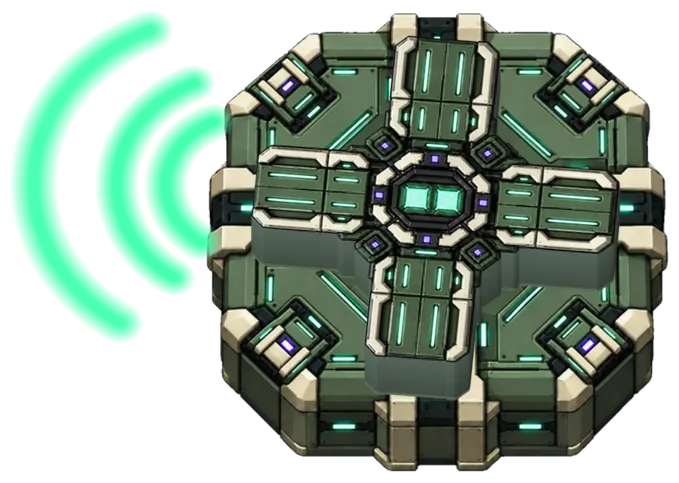
Signal Relay at level 1, rendered from the game: a green-panelled octagonal relay platform sending out green signal arcs, with no turret.
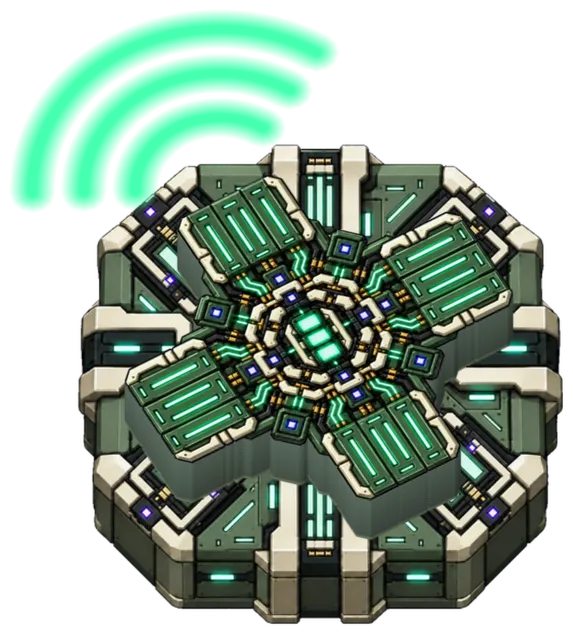
Signal Relay at level 2, rendered from the game: a green-panelled octagonal relay platform sending out green signal arcs, with no turret.
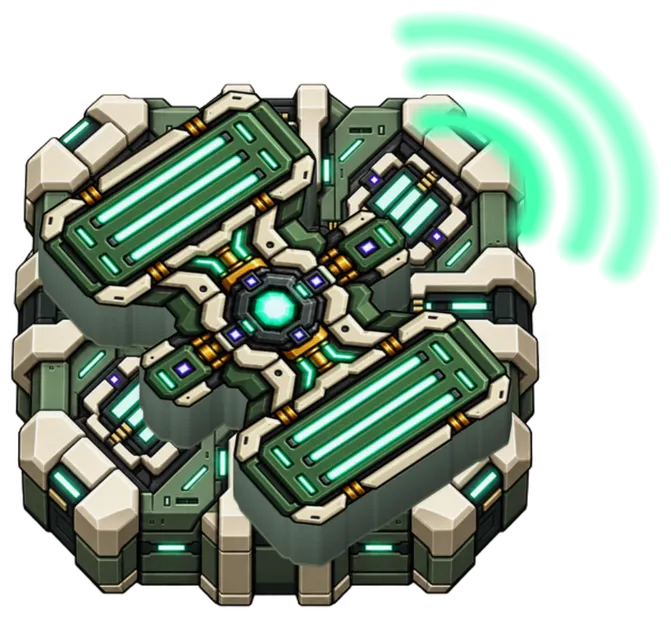
Signal Relay at level 3, rendered from the game: a green-panelled octagonal relay platform sending out green signal arcs, with no turret.
Signal Relay at level 4, rendered from the game: a green-panelled octagonal relay platform sending out green signal arcs, with no turret.
RELAY L1 L2 L3 L4
In-game render of the live tower: base, head and idle animation. Every level is drawn at one scale, so it grows as it does on the battlefield.
Upgrade level for the Signal Relay

08 / 10 Unlocks at wave 26

Signal Relay

Amplifier • Support

Makes nearby towers hit harder. Fires nothing itself.

Place it within range of several damage Towers to boost them together.

Build cost
200G
Unlocks
Wave 26
Max level
4

Combat telemetry · Level 1

Build
200G
From wave
26
Hull
100 HP
Primary DPS

Interval —

Reach
  • Role: Amplifies damage +15% damage within 2.8 tiles for nearby towers and Bombs.
  • Tip: Use with Place where several damage towers share one kill zone.
  • Warning: Limit Max 2 Relays. No direct fire; bonuses do not stack.

Combat telemetry · Level 2

Upgrade
230G
From wave
26
Hull
150 HP
Primary DPS

Interval —

Reach
  • Role: Amplifies damage +20% damage within 3 tiles for nearby towers and Bombs.
  • Tip: Use with Place where several damage towers share one kill zone.
  • Warning: Limit Max 2 Relays. No direct fire; bonuses do not stack.

Combat telemetry · Level 3

Upgrade
300G
From wave
26
Hull
200 HP
Primary DPS

Interval —

Reach
  • Role: Amplifies damage +25% damage within 3.2 tiles for nearby towers and Bombs.
  • Tip: Use with Place where several damage towers share one kill zone.
  • Warning: Limit Max 2 Relays. No direct fire; bonuses do not stack.

Combat telemetry · Level 4

Upgrade
600G
From wave
99
Hull
250 HP
Primary DPS

Interval —

Reach
  • Role: Amplifies damage +25% damage within 3.5 tiles for nearby towers and Bombs.
  • Tip: Network surge +20% special charge every 12 seconds while connected towers engage enemies.
  • Warning: Limit Max 2 Relays. No direct fire; bonuses do not stack.

Field Guide

Abilities
Makes nearby damage Towers hit harder, including Bomb damage against enemies in range. LEVEL 4 COMMAND RELAY adds NETWORK SURGE at Wave 99: +20% special charge every 12 combat seconds. Relay bonuses do not stack. From Wave 76, choose a Supercharge during preparation: Concentrated Signal, Broadcaster, Pulse Network. Open the tower’s Supercharge picker during preparation to compare each tradeoff. Standard keeps the original behavior and uses no slot.
Counters
Boosts direct and splash damage but does not attack on its own.
Tactics
Build it near a Choke Point where several damage Towers share its field.
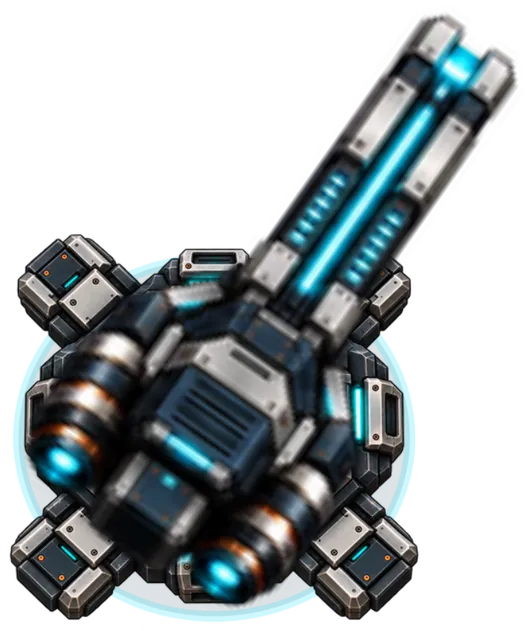
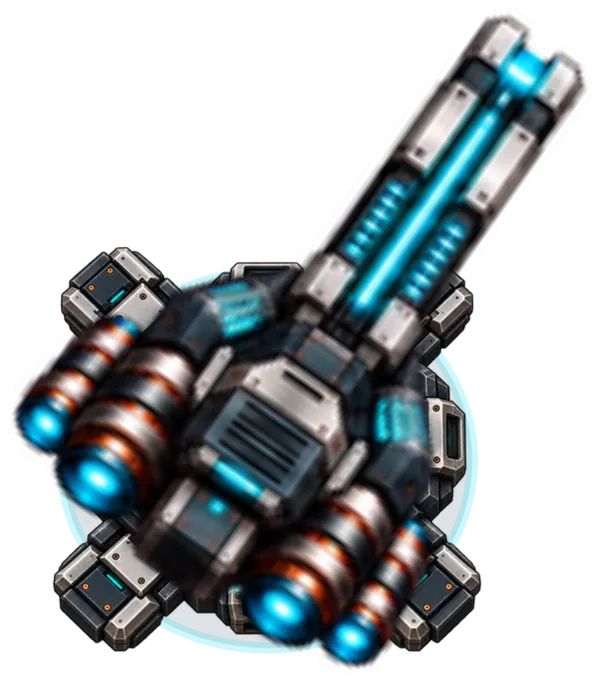
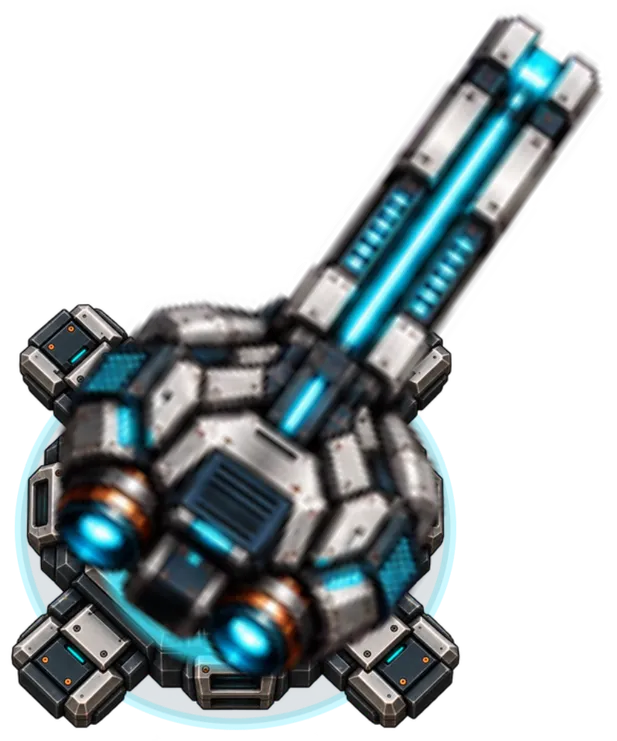
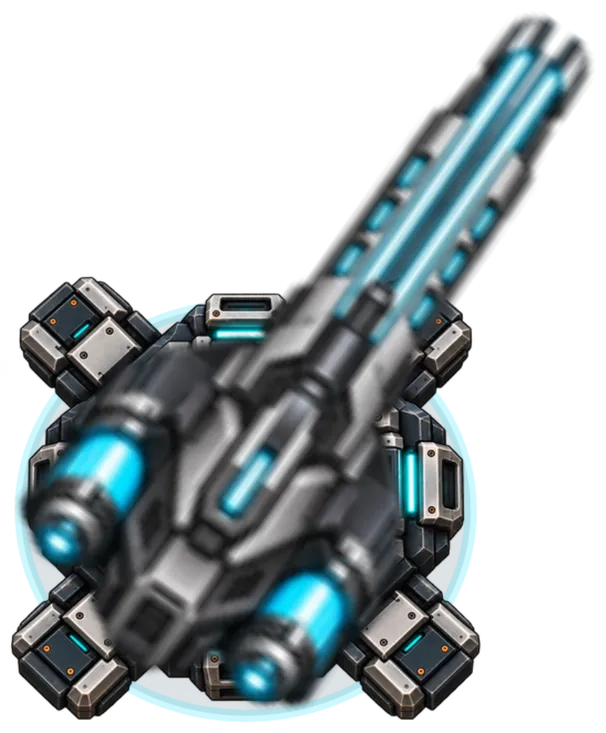
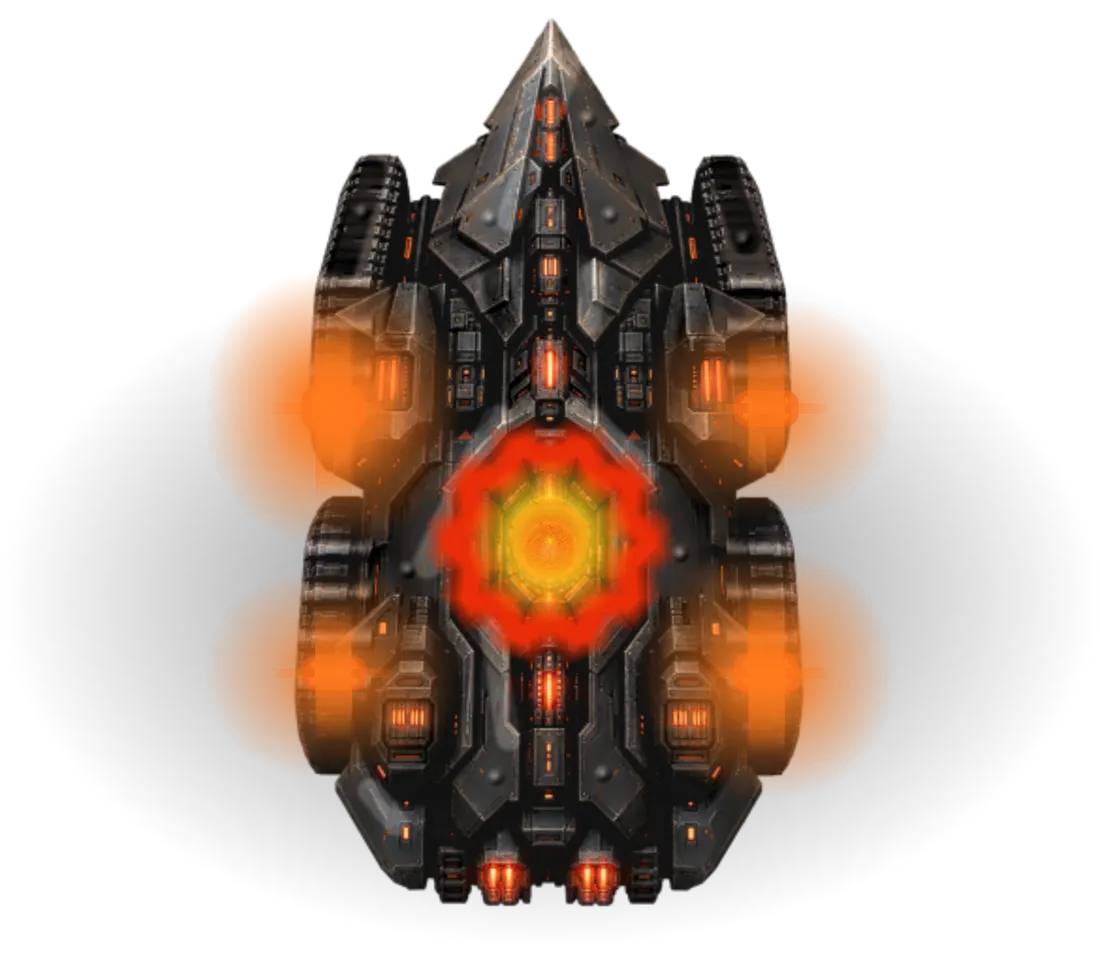
Rail Lance at level 1, rendered from the game: a dark round mount carrying a long twin-rail cannon lit in cyan.
Rail Lance at level 2, rendered from the game: a dark round mount carrying a long twin-rail cannon lit in cyan.
Rail Lance at level 3, rendered from the game: a dark round mount carrying a long twin-rail cannon lit in cyan.
Rail Lance at level 4, rendered from the game: a dark round mount carrying a long twin-rail cannon lit in cyan.
LANCE L1 L2 L3 L4
In-game render of the live tower: base, head and idle animation. Every level is drawn at one scale, so it grows as it does on the battlefield.
Upgrade level for the Rail Lance

09 / 10 Unlocks at wave 101

Rail Lance

Piercing Line • Ground

A charged rail shot pierces aligned ground enemies and ordinary armor.

Give it a long firing lane. Fast enemies can leave the warned line before the shot lands.

Build cost
900G
Unlocks
Wave 101
Max level
4
Level 3 special
Siege Discharge

Combat telemetry · Level 1

Build
900G
From wave
101
Hull
100 HP
Primary DPS
Interval
Reach
  • Role: Piercing line Pierces up to 3 aligned ground targets.
  • Tip: Use with Ignores ordinary armor. Hold enemies in a straight line.
  • Warning: Limit Slow charge; fast targets dodge. Boss protection applies.

Combat telemetry · Level 2

Upgrade
1,035G
From wave
101
Hull
150 HP
Primary DPS
Interval
Reach
  • Role: Piercing line Pierces up to 4 aligned ground targets.
  • Tip: Use with Ignores ordinary armor. Hold enemies in a straight line.
  • Warning: Limit Slow charge; fast targets dodge. Boss protection applies.

Combat telemetry · Level 3

Upgrade
1,250G
From wave
101
Hull
200 HP
Primary DPS
Interval
Reach
  • Role: Siege discharge Pierces 5; charged shots hit 8 at +40% damage.
  • Tip: Corebreaker Optional: 300% damage to the first enemy; stops on impact. Read for paths.
  • Warning: Limit Slow charge; fast targets dodge. Boss protection applies.

Combat telemetry · Level 4

Upgrade
1,500G
From wave
166
Hull
250 HP
Primary DPS
Interval
Reach
  • Role: Siege discharge Pierces 7; charged shots hit 8 at +40% damage.
  • Tip: Corebreaker Optional: 300% damage to the first enemy; stops on impact. Read for paths.
  • Warning: Limit Slow charge; fast targets dodge. Boss protection applies.

Field Guide

Abilities
Charges for 4 seconds, locks a narrow line for 0.3 seconds, then pierces up to 3 targets; levels 2 and 3 reach 4 and 5. LEVEL 3 SIEGE DISCHARGE hits up to 8 with 40% extra damage. LEVEL 4 LONGREACH unlocks at Wave 166, pierces 7 ordinary targets and reaches 7.5 tiles with stronger shots. At Level 3 and above, Corebreaker instead deals 300% damage to the first eligible enemy on the line and stops there. From Wave 76, choose a Supercharge during preparation: Corebreaker, Needle Strike, Wide Bore. Open the tower’s Supercharge picker during preparation to compare each tradeoff. Standard keeps the original behavior and uses no slot.
Counters
Ignores ordinary chassis armor. Shields, cloaking and protected boss phases still apply. Cannot target aircraft without Commander support.
Tactics
Build beside long straight approaches and use control towers to hold targets on the firing line.
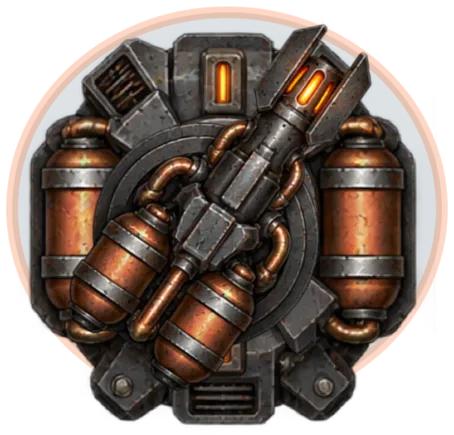
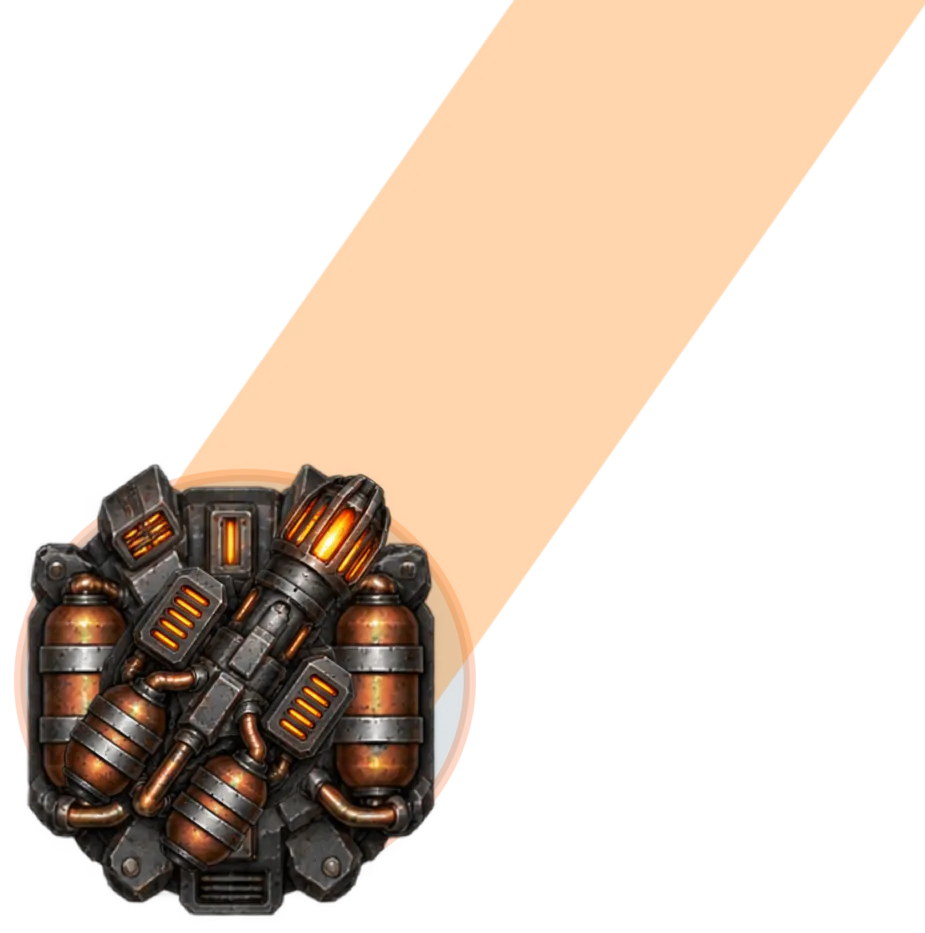
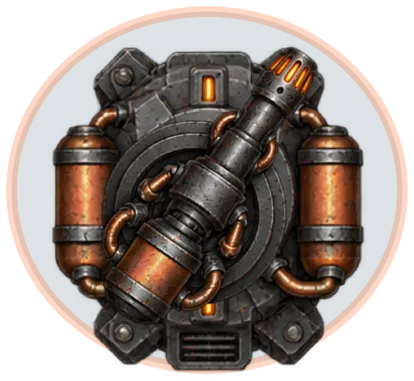
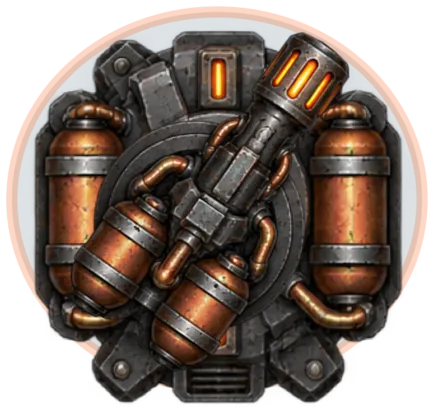
Incinerator at level 1, rendered from the game: a dark steel mount between two copper fuel tanks, carrying a flame cannon with an orange-glowing muzzle.
Incinerator at level 2, rendered from the game: a dark steel mount between two copper fuel tanks, carrying a flame cannon with an orange-glowing muzzle.
Incinerator at level 3, rendered from the game: a dark steel mount between two copper fuel tanks, carrying a flame cannon with an orange-glowing muzzle.
Incinerator at level 4, rendered from the game: a dark steel mount between two copper fuel tanks, carrying a flame cannon with an orange-glowing muzzle.
INCINERATOR L1 L2 L3 L4
In-game render of the live tower: base, head and idle animation. Every level is drawn at one scale, so it grows as it does on the battlefield.
Upgrade level for the Incinerator

10 / 10 Unlocks at wave 175

Incinerator

Flame Cone • Ground

Short flame bursts burn groups of ground Machines and reduce their healing.

Cover a tight bend. Pair with Razorwire; add Flak for aircraft. Upgrades arrive at waves 181, 191 and 201.

Build cost
1,000G
Unlocks
Wave 175
Max level
4
Level 3 special
Flashover

Combat telemetry · Level 1

Build
1,000G
From wave
175
Hull
100 HP
Primary DPS

Interval —

Reach
  • Role: Flame cone 1.6s bursts; 1.4s cooling. Ground only.
  • Tip: Lingering burn Burn lasts two seconds and halves healing. Burns refresh without stacking.
  • Warning: Use with Razorwire keeps groups inside the short cone. Flak covers aircraft.

Combat telemetry · Level 2

Upgrade
1,150G
From wave
181
Hull
150 HP
Primary DPS

Interval —

Reach
  • Role: Flame cone 1.6s bursts; 1.4s cooling. Ground only.
  • Tip: Lingering burn Burn lasts two seconds and halves healing. Burns refresh without stacking.
  • Warning: Use with Razorwire keeps groups inside the short cone. Flak covers aircraft.

Combat telemetry · Level 3

Upgrade
1,350G
From wave
191
Hull
200 HP
Primary DPS

Interval —

Reach
  • Role: Flame cone 1.6s bursts; 1.4s cooling. Ground only.
  • Tip: Flashover Charged blast hits burning enemies in the cone.
  • Warning: Use with Razorwire keeps groups inside the short cone. Flak covers aircraft.

Combat telemetry · Level 4

Upgrade
1,600G
From wave
201
Hull
250 HP
Primary DPS

Interval —

Reach
  • Role: Furnace 2.2s bursts; 1.4s cooling. Ground only.
  • Tip: Flashover Charged blast hits burning enemies in the cone. Furnace also leaves a burning strip.
  • Warning: Use with Razorwire keeps groups inside the short cone. Flak covers aircraft.

Field Guide

Abilities
Sweeps a short cone in 1.6s bursts with 1.4s cooling. Burns linger 2s and halve incoming healing. LEVEL 2 widens the cone and strengthens damage. LEVEL 3 FLASHOVER blasts burning enemies in the cone. LEVEL 4 FURNACE fires longer bursts and leaves a 2s scorched strip that ignites passing ground enemies. From Wave 76, choose a Supercharge during preparation: Thermite, Wildfire, Jetstream. Open the tower’s Supercharge picker during preparation to compare each tradeoff. Standard keeps the original behavior and uses no slot.
Counters
Ground only, including during Unified Targeting. Burns refresh without stacking; the strongest burn wins. Shields, concealment and boss protection still apply.
Tactics
Build beside tight bends and use Razorwire to hold enemies inside the flame. Short range and cooling create gaps.

Coming November 2026 for iPhone and iPad

Hold the choke point yourself

From the Sentry Post at wave 1 to the Incinerator at wave 175: build the route, then make it hold.

Next // Field Guide Enemies & Bosses Every Machine, boss and Mega Boss, and how to counter each one.