05 Field Guide // How it plays

How Choke Point plays

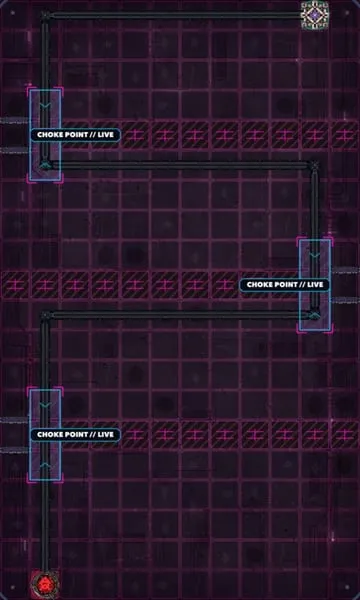
Every tower you build is also a wall. The Machines re-plan their route around each one, so the game is about where you build: bend the route through the choke point, make it hold, and turn the kills there into Supplies.

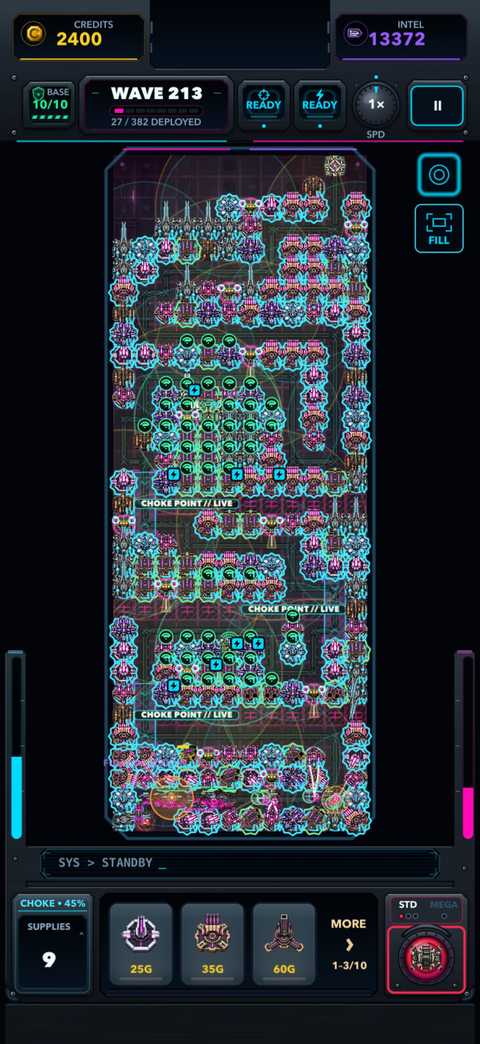
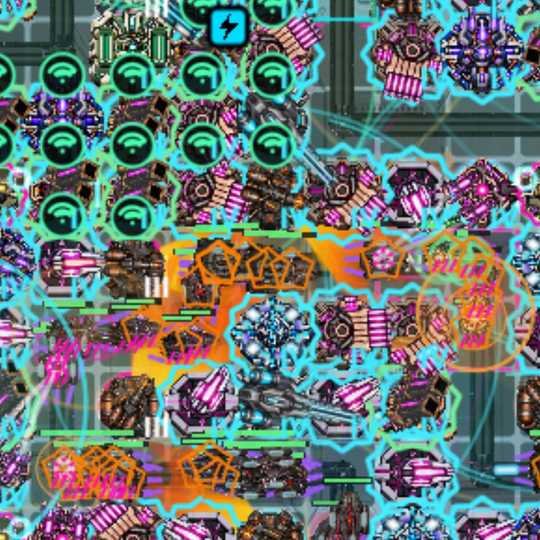
The Choke Point game screen on iPhone with its HUD at wave 213 on Serpentine: a battlefield packed with towers and three CHOKE POINT // LIVE labels along the route.
Choke point // Live

Serpentine at wave 213, with the full game HUD: 215 towers bend the route through all three choke points, and every one is live.

Watch the reel

01 The core loop

Build, route, hold

One rule drives everything: the Machines walk the shortest open route, and every tower you place changes it.

  1. Build

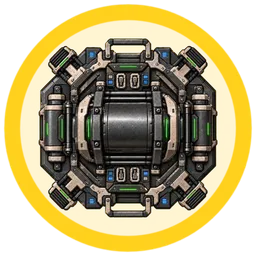
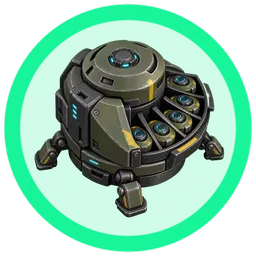
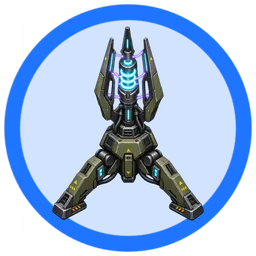
    Every tower takes a tile. Ten unlock as the waves climb, from the Sentry Post at wave 1 to the Incinerator at wave 175, and upgrade as you go.

    All towers
  2. Route

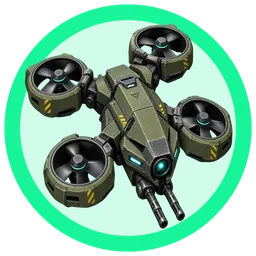
    Ground Machines always take the shortest open route from their portal to your Firewall, and re-plan it the moment you build. You can bend the route as far as you like, but never seal it. Aircraft ignore it and fly straight at the Firewall.

    Enemies & Bosses
  3. Choke point

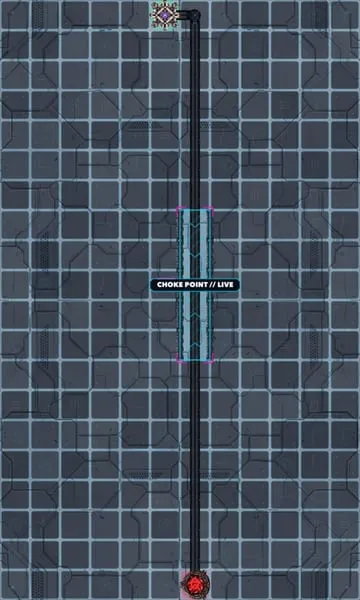
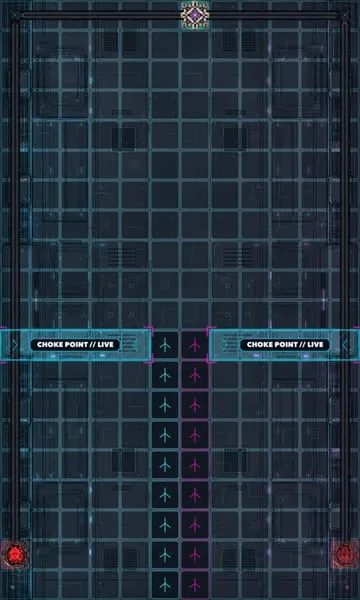
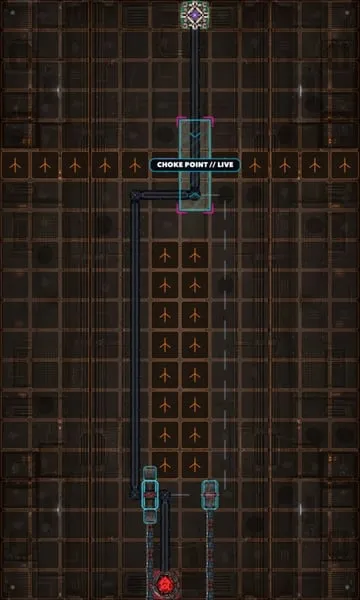
    Every battlefield marks a choke point. Bend the route through it and it goes live: CHOKE POINT // LIVE.

    The battlefields
  4. Choke Control

    Ground kills inside a live choke point charge the Choke Control meter, shared by every choke point on the field.

  5. Supplies

    When the meter fills, you get a random Supply that is below its charge cap. Use it: Supplies earned in a run are gone when the run ends.

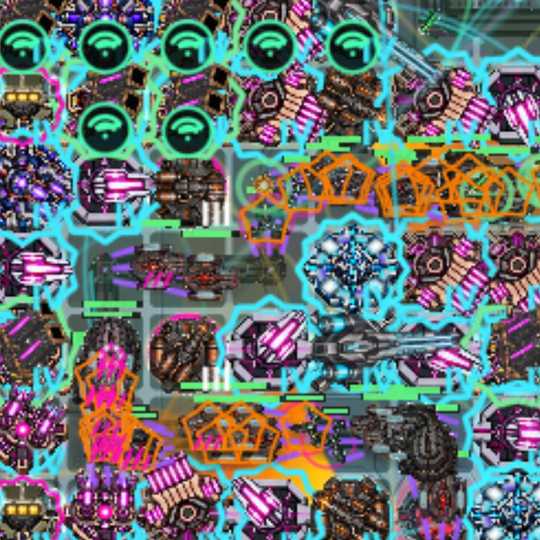
Close view of a Rail Lance, Incinerators, an EMP Pylon and Flak Nests on a battlefield packed with towers.
Close range // Firing
Open Field · Wave 223
Up close at wave 223 on Open Field: a Rail Lance, Incinerators, an EMP Pylon and Flak Nests fire on Machines crossing the packed board.

Upgrades

Towers upgrade as the waves climb, every one to level 4. At level 3, eight of the ten gain a named special that charges as they deal damage and fires on its own.

From wave 76, a tower at level 3 or higher can take a Supercharge path (see the late game).

Stats for every level

02 Supplies

Eleven Supplies

One-shot tools for the moment a defense starts to slip. Five come from Choke Control (Brace, Grapple Hook, Flash Freeze, Airstrike, and Time Rewind). You can also bring Supplies into a run through the Mission Loadout, bonus zones your kills create pay out Bombs, and destroying a Mega Boss earns a Mega Bomb. Field Repair Drone, Mine Dispenser, Dead Signal, and Hunter Swarm come only from the Intel Store.

Machines massing on the Open Field route between packed towers, moments before an Airstrike lands.
Supply // Airstrike
Open Field · Wave 223
An Airstrike Supply lands on a pack of 24 Machines at wave 223 on Open Field, on a board of 233 towers.
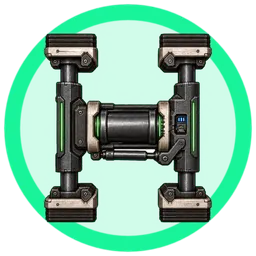
  • The Brace icon from the game's Supplies tray.

    Brace

    Instant • Tower Protection

    Briefly protects all your Towers from enemy damage.

    4s IMMUNITY • ALL TOWERS

    Choke ControlMission Loadout Cap 2

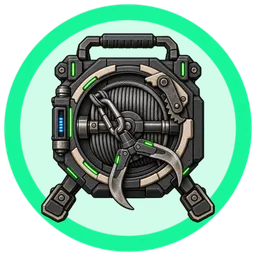
  • The Grapple Hook icon from the game's Supplies tray.

    Grapple Hook

    Targeted • Single-Enemy Control

    Pins the toughest enemy in range.

    10s ANCHOR • RANGE 3 • 1 TARGET

    Choke Control Cap 2

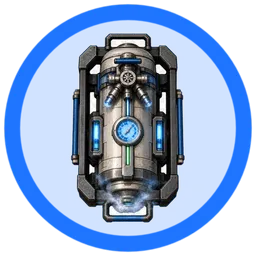
  • The Flash Freeze icon from the game's Supplies tray.

    Flash Freeze

    Instant • Global Control

    Slows all enemies on the field almost to a stop.

    4s FREEZE • 3% SPEED • ALL TARGETS

    Choke ControlMission Loadout Cap 2

  • The Field Repair Drone icon from the game's Supplies tray.

    Field Repair Drone

    Instant • Global Tower Repair

    Repairs every surviving Tower to full health.

    FULL REPAIR • ALL SURVIVING TOWERS • 1 CHARGE

    Intel Store Cap 1

  • The Airstrike icon from the game's Supplies tray.

    Airstrike

    Targeted • Area Ordnance

    Bombards the small area you target.

    110+ DMG • RADIUS 2.4 • WAVE SCALED

    Choke ControlMission Loadout Cap 2

  • The Time Rewind icon from the game's Supplies tray.

    Time Rewind

    Sustained • Global Control

    Rewinds enemies along their paths while your Towers keep firing.

    3 tiles BACK • 3s TRAVEL • NO DAMAGE

    Choke Control Cap 1

  • The Bomb icon from the game's Supplies tray.

    Bomb

    Instant • Global Ordnance

    Damages every enemy currently on the field and weakens survivors.

    95 BASE • +13% / WAVE • 9s WEAKEN

    Bonus zoneMission Loadout Cap 3

  • The Mega Bomb icon from the game's Supplies tray.

    Mega Bomb

    Instant • Global Ordnance

    Destroys regular enemies and takes a large chunk of a boss’s health.

    CLEARS REGULARS • 60% BOSS • 25% MEGA • BEFORE ARMOR

    Mega Boss killMission Loadout Cap 1

  • The Mine Dispenser icon from the game's Supplies tray.

    Mine Dispenser

    Targeted • Route Mines

    Lays five mines along the route you select.

    5 MINES • 45+ DMG EACH • WAVE SCALED

    Intel Store Cap 1

  • The Dead Signal icon from the game's Supplies tray.

    Dead Signal

    Targeted • Support Blackout

    Slows Machines and disables enemy support inside a ten-second zone.

    10s • RADIUS 3 • 80% SPEED • NO DAMAGE

    Intel Store Cap 1

  • The Hunter Swarm icon from the game's Supplies tray.

    Hunter Swarm

    Instant • Mobile Defense

    Deploys four temporary combat drones to intercept leaks.

    4 DRONES • 10s • GROUND + AIR

    Intel Store Cap 1

03 Commander

Commander abilities

On top of your towers, you command. Equip two of six abilities and one of three passives, and trigger the abilities mid-wave. Experience earned in your runs buys the points that rank them up from I to V; Intel plays no part.

  • Damage boost

    Kill Zone

    Towers deal 25% more damage to enemies within 2 tiles of an active choke point for 6s.

    Rank I
    +25% · 6 s
    Rank V
    +45% · 10 s
    Recharge
    60 s

    Masteries: Crossfire or Execution Zone

  • Attack speed

    Grid Overdrive

    All towers attack and pulse 25% faster for 6s.

    Rank I
    +25% · 6 s
    Rank V
    +45% · 10 s
    Recharge
    60 s

    Masteries: Blitz or Sustained Surge

  • Movement slow

    Disruption Field

    Strip current enemy shields and slow ground and air movement by 20% for 6s. Boss resistances still apply.

    Rank I
    20% · 6 s
    Rank V
    40% · 10 s
    Recharge
    60 s

    Masteries: Deep Freeze or Breach Signal

  • Firewall hold

    Emergency Protocol

    Hold enemies at the Firewall for 3s while towers keep attacking them. Any survivors breach when the hold ends. Bosses must still be defeated.

    Rank I
    3 s
    Rank V
    7 s
    Recharge
    90 s

    Masteries: Last Stand or Rapid Response

  • Air + ground targeting

    Unified Targeting

    For 8s, towers can apply their existing attacks or support effects to ground enemies and aircraft within range. Incinerator remains ground-only. Concealment rules still apply.

    Rank I
    8 s
    Rank V
    16 s
    Recharge
    65 s

    Masteries: Air Superiority or Extended Network

  • Priority target

    Focus Fire

    Mark one enemy in weapon range. Towers prioritize it for up to 6s, keeping normal range, damage and firing speed. Air and concealment rules still apply. The order ends when it dies, escapes or is cancelled. Each activation marks one enemy; recharge begins only after a valid mark.

    Rank I
    6 s
    Rank V
    10 s
    Recharge
    60 s

    Masteries: Assassination or Pursuit

Passives · always on while equipped

  • Firepower Tower damage +2% → +10%
  • Readiness Ability cooldowns −3% → −15%
  • Endurance Ability duration +5% → +25%

Kill Zone, Grid Overdrive, Disruption Field, Emergency Protocol, Unified Targeting, and Focus Fire each offer a choice of two masteries, unlocked by an objective at rank V.

04 Difficulty

Three difficulties

Pick one per run. The battlefields and Machines are the same; what changes is how hard the waves hit and how much time you get to think.

  1. 01

    Relaxed

    • More credits
    • Easier waves
    • Towers cannot be damaged
    Base integrity
    15
    Starting credits
    +50G
    Build while paused
    Yes
    Leaderboards
    No
  2. 02

    Normal

    • Standard difficulty
    • Build while paused
    Base integrity
    10
    Starting credits
    Standard
    Build while paused
    Yes
    Leaderboards
    Yes
  3. 03

    Hard

    • Tougher waves
    • Build while paused
    Base integrity
    10
    Starting credits
    Standard
    Build while paused
    Yes
    Leaderboards
    Yes

    After wave three, more Machines arrive, with extra health and less time between them.

Game pace settings (starting waves at half speed, starting each wave yourself) and more are on the accessibility page.

05 Modes

Three ways to play

Two fronts: the Wave Defense campaign, where you build the route, and Stronghold, where one core holds against every direction. Training teaches the basics.

Wave Defense // Campaign

Wave Defense

The campaign: seven battlefields from Open Field to Evacuation, each with its own mechanic and its own Mega Boss. Five open as you play, each at wave 20 on the one before; Faultline and Evacuation are Intel unlocks. Through wave 300, new Machines, bosses and, past wave 100, late-wave events keep coming.

  • Runs save automatic checkpoints: Save & Quit mid-run and pick it up later, from the start of the wave you left.
  • Plays without an internet connection.
The seven battlefields
Stronghold // 4 levels

Stronghold

A fortress core in an open arena fires on its own while Machines close in from every side. Pick a starting core, draft upgrades as the waves climb, and fire Repulse and Siege Shot yourself.

Levels
Core Perimeter, Foundry, Relay Yard, and Fragment Works: 77 waves each, with their own armor trait, a signature enemy and a Mega Boss
Starting cores
Sentry, Arc, Mortar, Lance, and Incinerator
Upgrades
49 choices, including five evolutions: Crossfire, Thunderstorm, Cluster Barrage, Breach Lance, and Firestorm
Difficulty
Relaxed, Standard, or Hard
Beyond the levels
Medals unlock Workshop perks; Endless and the Daily Defense have Game Center leaderboards
Everything about Stronghold
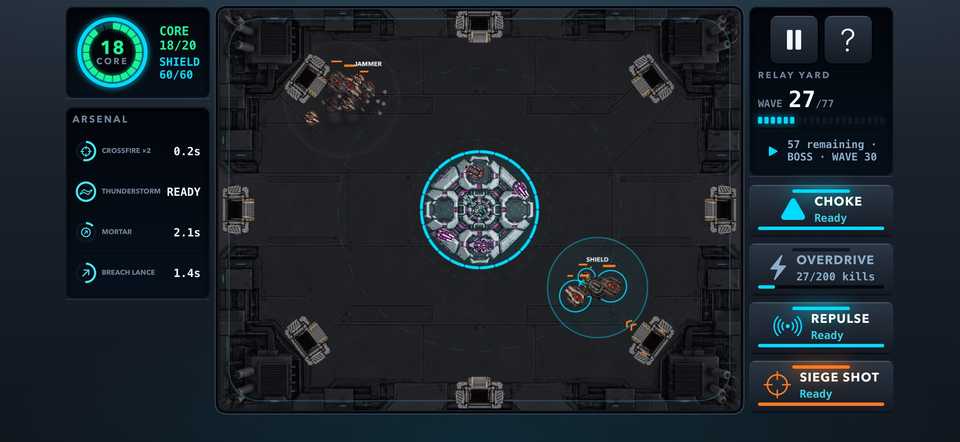
Stronghold on iPhone in landscape with its console HUD: the core in the middle of the Relay Yard arena, a Jammer pack and a shielded pack closing in, core and shield gauges and the arsenal on the left, wave 27 of 77 and the Choke, Overdrive, Repulse and Siege Shot buttons on the right.
Stronghold // One core
Relay Yard · Wave 27
Relay Yard, wave 27: a surge charges from three gates, the Choke Point goes down, and a Siege Shot lands on 11 Machines.
Training // Basics

Training

Seventeen short lessons in six chapters, from placing your first two Sentry towers to a Line Breaker boss: routing, the choke meter, Bombs, anti-air, upgrades, counters and Supplies.

06 Late game

The long run

Win at wave 50, then play on to wave 300. From wave 51, the battlefield, the waves and your towers keep changing.

  • From wave 51 · every 30 waves

    Chapters

    Every 30 waves a new chapter begins: Perimeter Defense, Air Assault, Armored Convoy, and Support Hunt, then round again. Ordinary groups arrive in patterns suited to the chapter; bosses and battlefield events keep their own tactics.

  • Each new chapter

    Battlefield expansions

    The Firewall advances and two new construction rows open on its side of the field. Your towers and choke points stay where they are, and preparation waits until you start the next wave.

  • From wave 76 · level 3+

    Supercharges

    Give a tower at level 3 or higher a Supercharge: each tower family offers three paths, or keep Standard. Choosing one is free. You get 4 slots at wave 76, 6 at wave 126, and 8 at wave 176, and from wave 81 each expansion lets you refit one tower. Most paths open at level 3; a few need level four or an earned blueprint.

  • After a lost wave

    Practice Wave

    Practice the wave that beat you: its battlefield, towers, Supplies and Commander come back with untimed preparation, so you can try a different defense. Practice earns no Intel, Commander XP, mastery or rankings, and your campaign saves and purchased inventory stay unchanged.

07 Intel // Field Guide

Intel and the Field Guide

Intel

Intel is the game’s store currency. You earn it by playing, through career rewards and a daily Intel cycle, and spend it in the Intel Store: Supplies for your Mission Loadout, the Faultline and Evacuation battlefields, command voice packs (Blackthorn, Rick, Kenzie, Ghost, and Hotline), modifiers that change how a run plays, and visual protocols.

Intel Packs are also available as in-app purchases.

The Field Guide

Every tower, Machine, boss, Supply and late-wave event has an entry in the in-game Field Guide: what it does, how to use or counter it, and its stats. Open it any time from the pause menu. The first time a new mechanic appears, a short field brief explains it.

This site’s towers and enemies pages are built from the Field Guide’s own entries.

Coming November 2026 for iPhone and iPad

Build the route. Make it hold.

Ten towers, seven battlefields, eleven Supplies and a choke point to hold.

Next // Field Guide Towers All ten towers, with stats at every upgrade level.