03 Field Guide // Battlefields

Seven battlefields. One Mega Boss each.

The Wave Defense campaign runs across seven battlefields, from Open Field to Evacuation. Each changes how the route behaves, from a switchback and a second entrance to blast gates, high ground, a shifting fault and a core that moves, and each has a Mega Boss of its own.

Unlock
Five open as you play: Open Field from the start, then reach wave 20 on each to open the next. Faultline and Evacuation are permanent unlocks for 1,500 Intel each.
The boards
Every battlefield is a 12 × 20 grid, shown here as the game draws it before wave 1: route, choke points and hardware.
Late waves
From wave 102, some waves carry an event; from wave 118, each battlefield adds one of its own (Switchyard’s from wave 98).
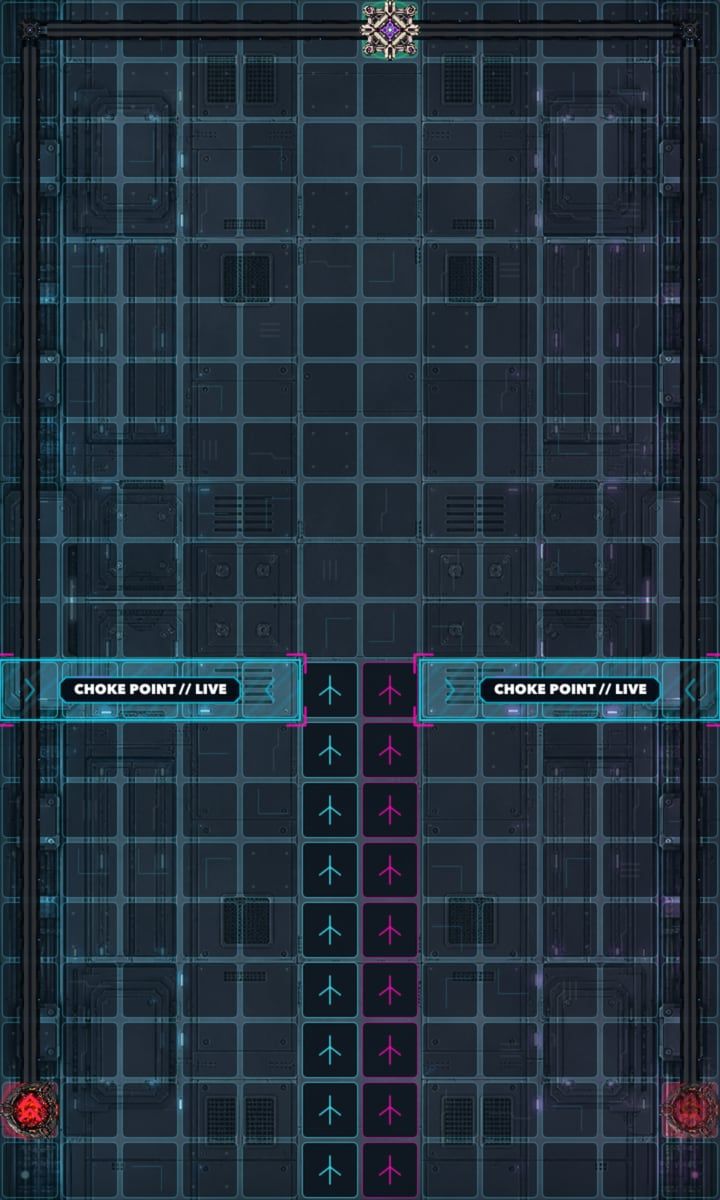
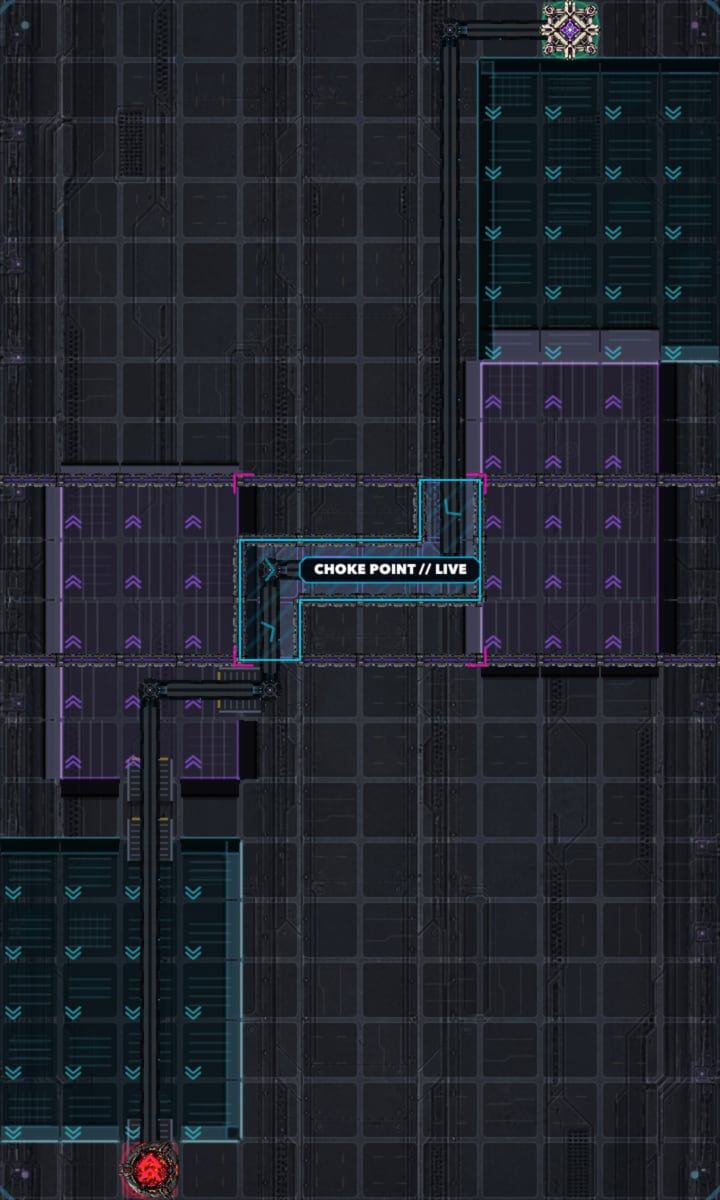
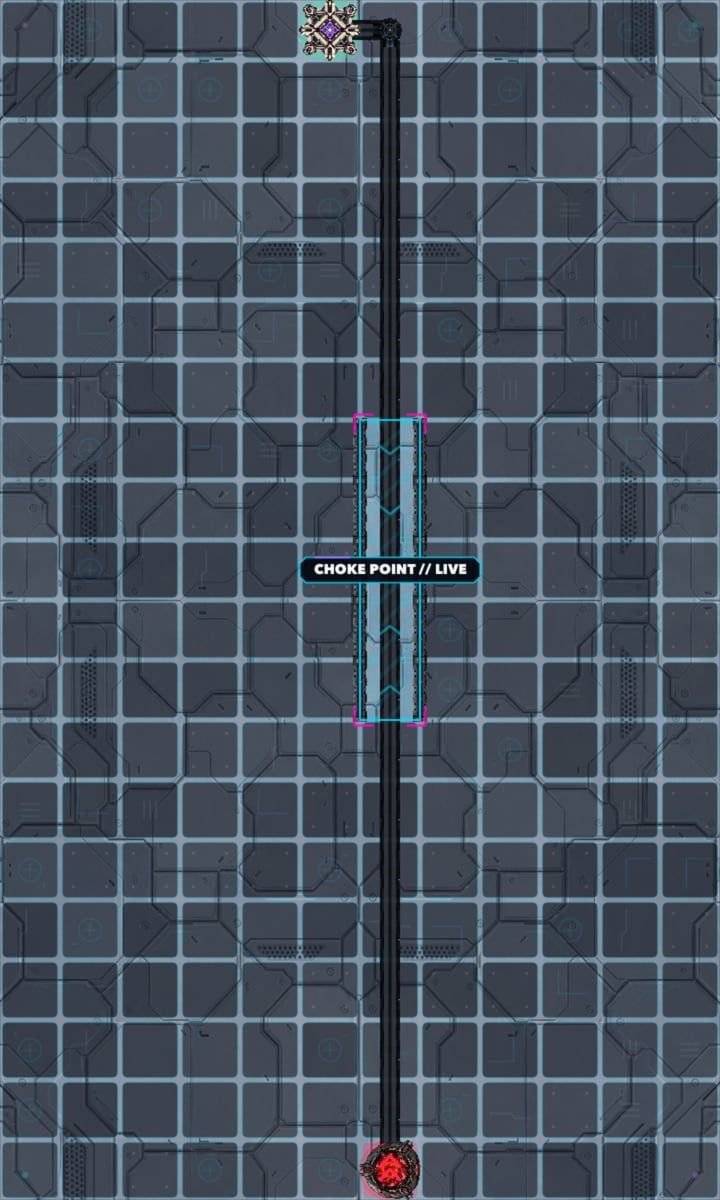
The Open Field board, captured from the game before wave 1: a pale steel-blue grid, with the Machines’ portal at the bottom, the Firewall at the top, and a straight route up a walled corridor through the center marked CHOKE POINT // LIVE.
Battlefield 01 // Testing Ground
12 × 20

01 / 07 Testing Ground

Open Field

The original testing ground. One portal, one Firewall and a five-tile choke corridor walled down the middle of the board: no special rules, just the route and the towers you build around it.

  • Walls flank the corridor, so Machines walk it lengthwise. Build just outside the walls to fire into it.
  • Everything else is open ground: bend the route as far as you like, but you can never seal it.
Grid
12 × 20
Entrance
1
Choke point
1
Starting credits
100G
Unlock
Open from the start
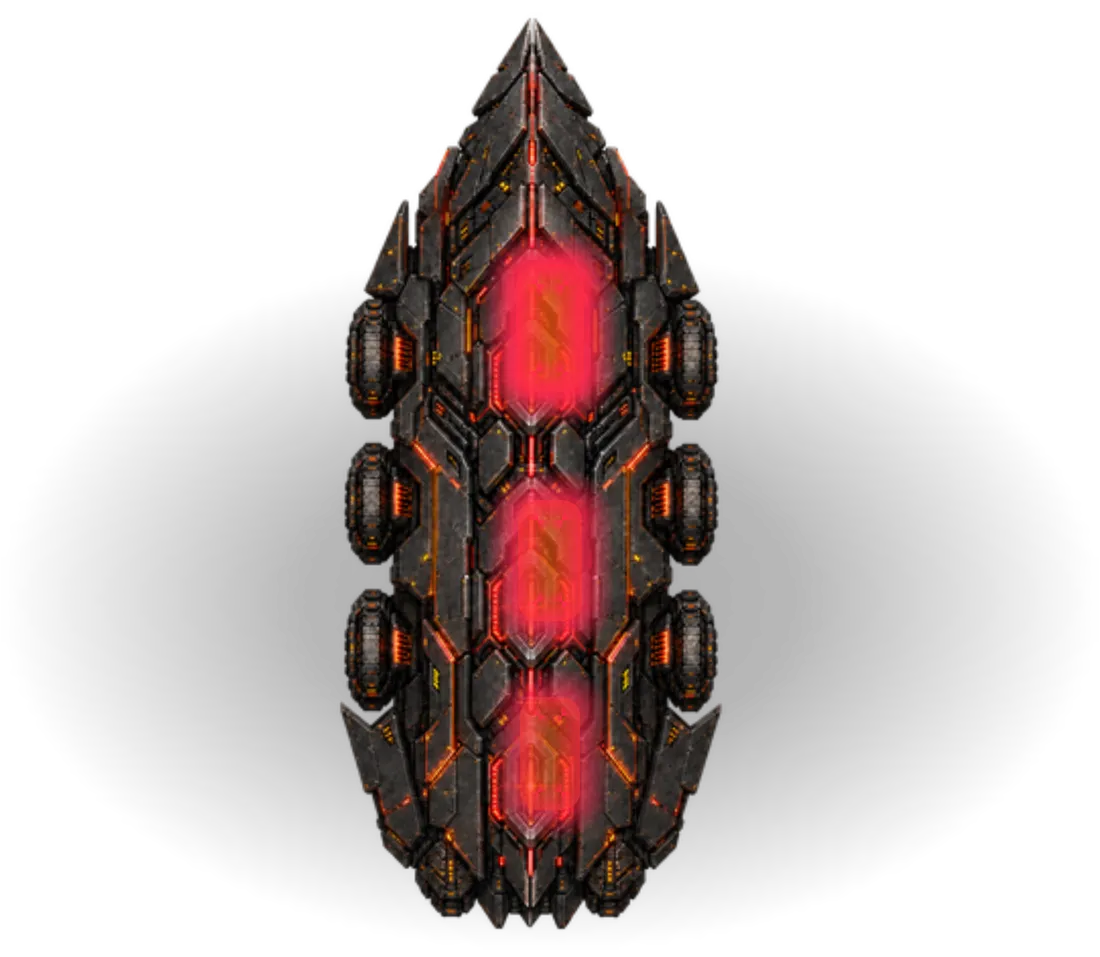
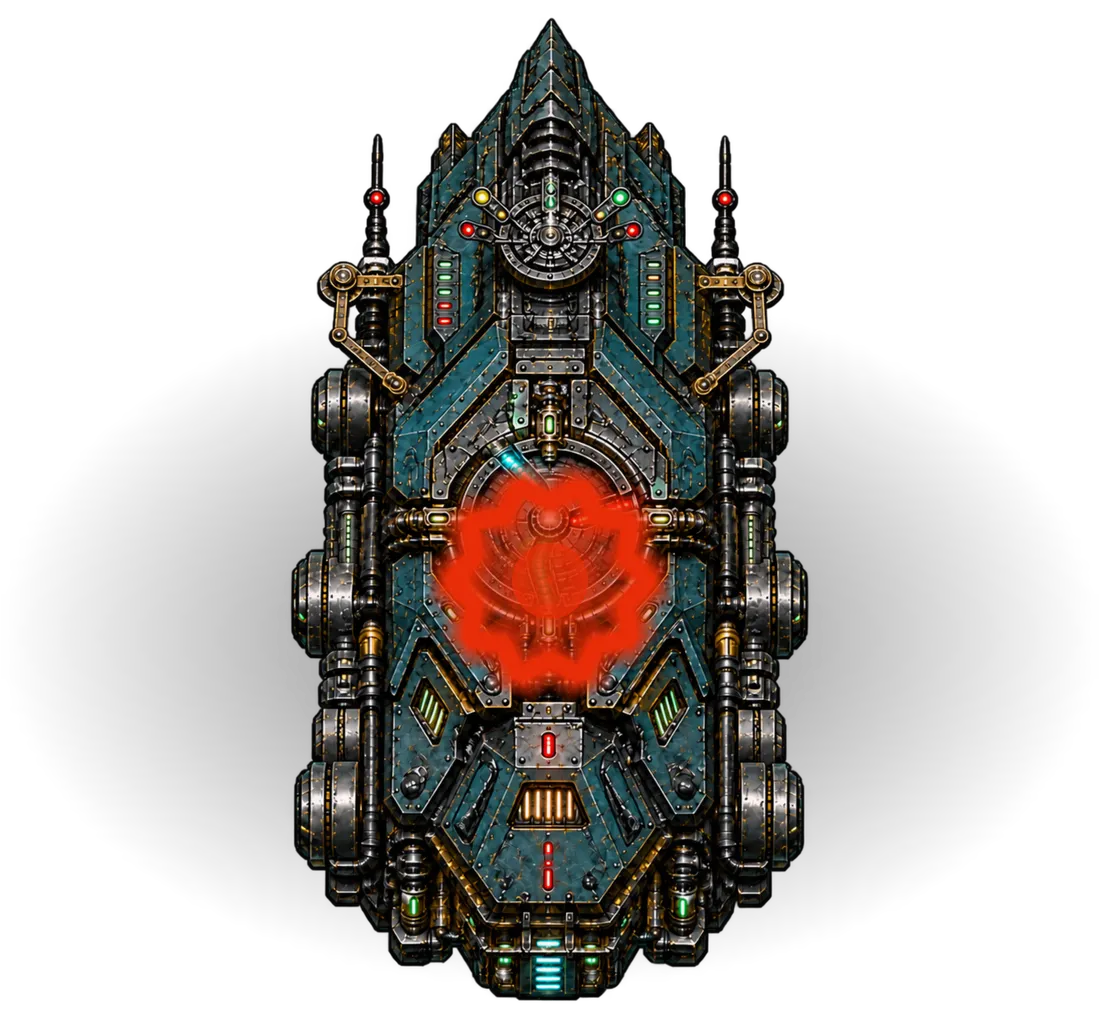
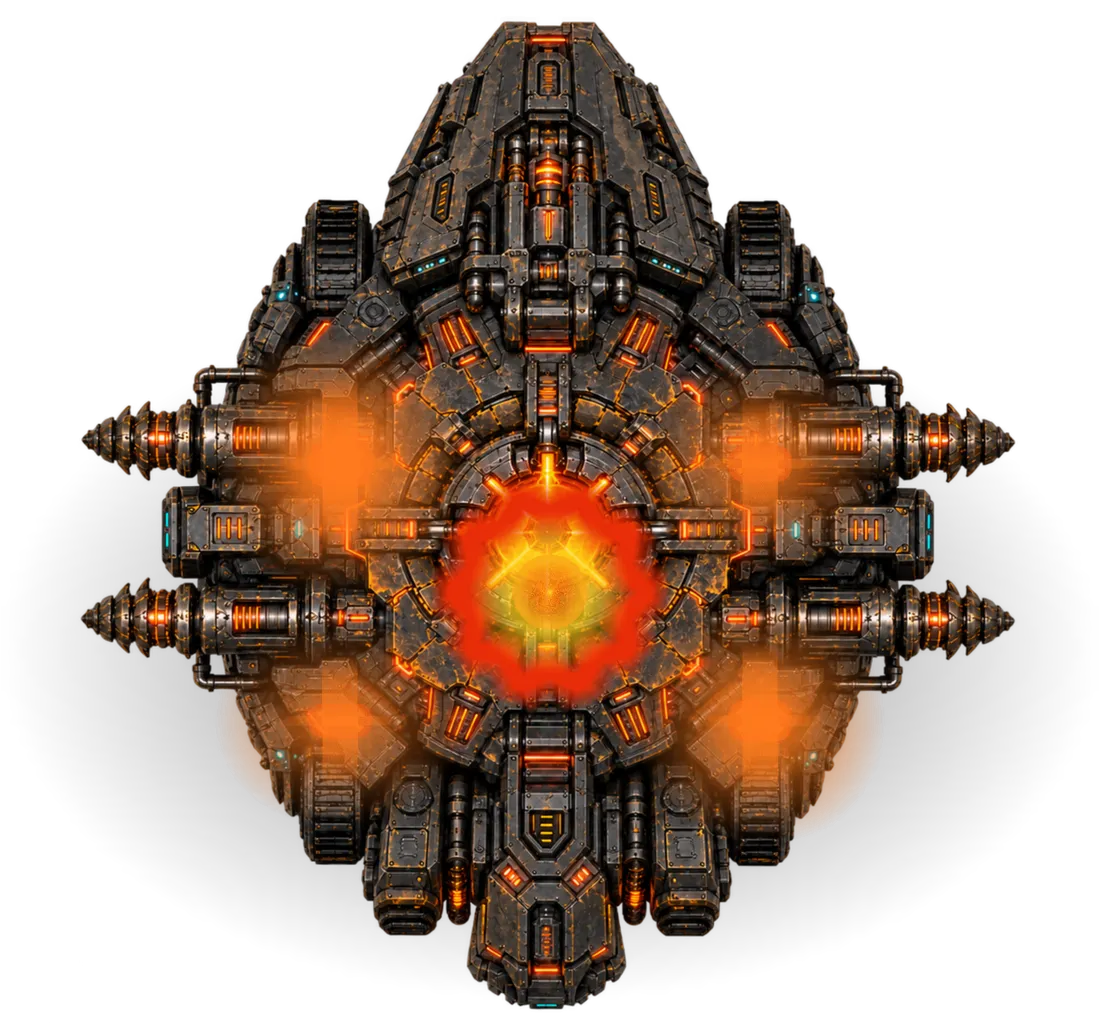
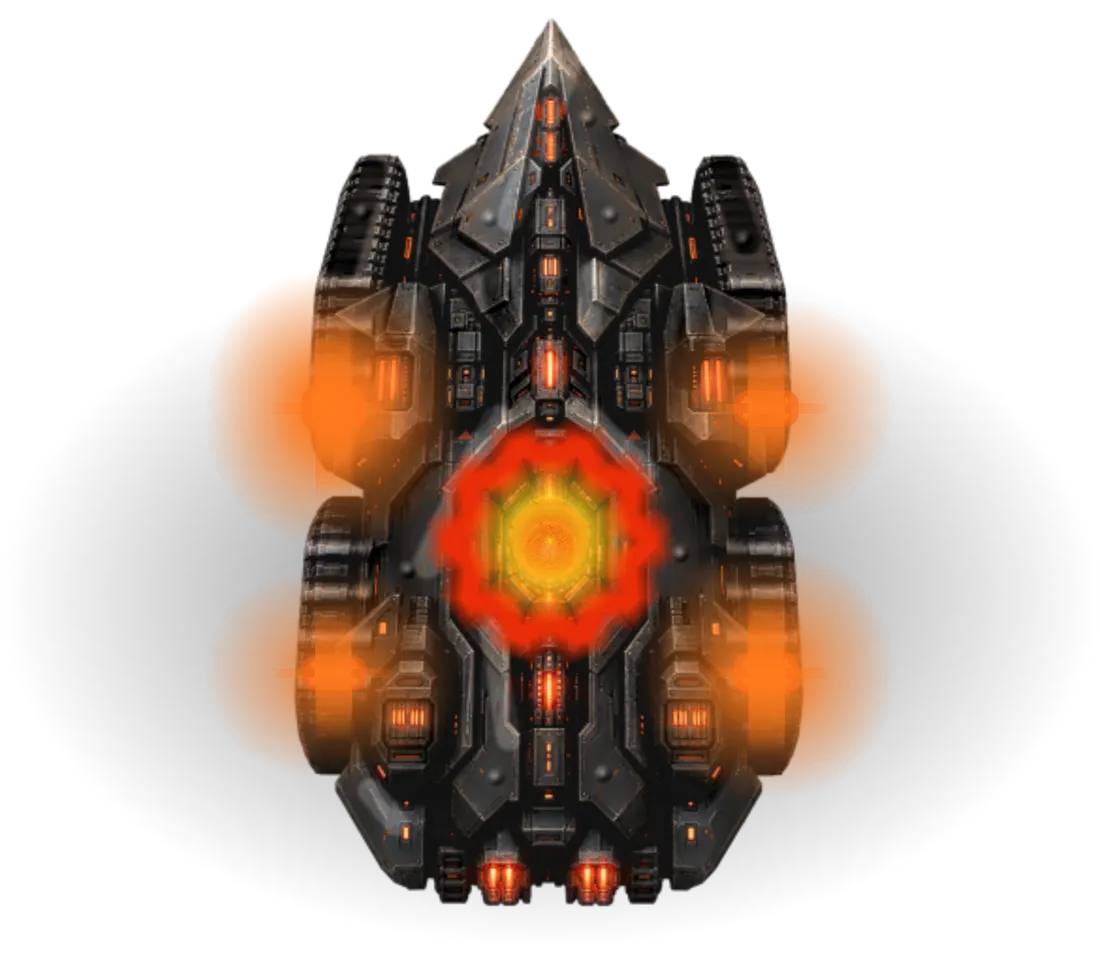
Mega Boss Scorch Colossus Scorch View dossier
Late-wave event · from wave 118 Scrap Mine Player-Triggered Trap

Destroy the marked Treads to leave a Scrap Mine at its death position. It waits for your tap.
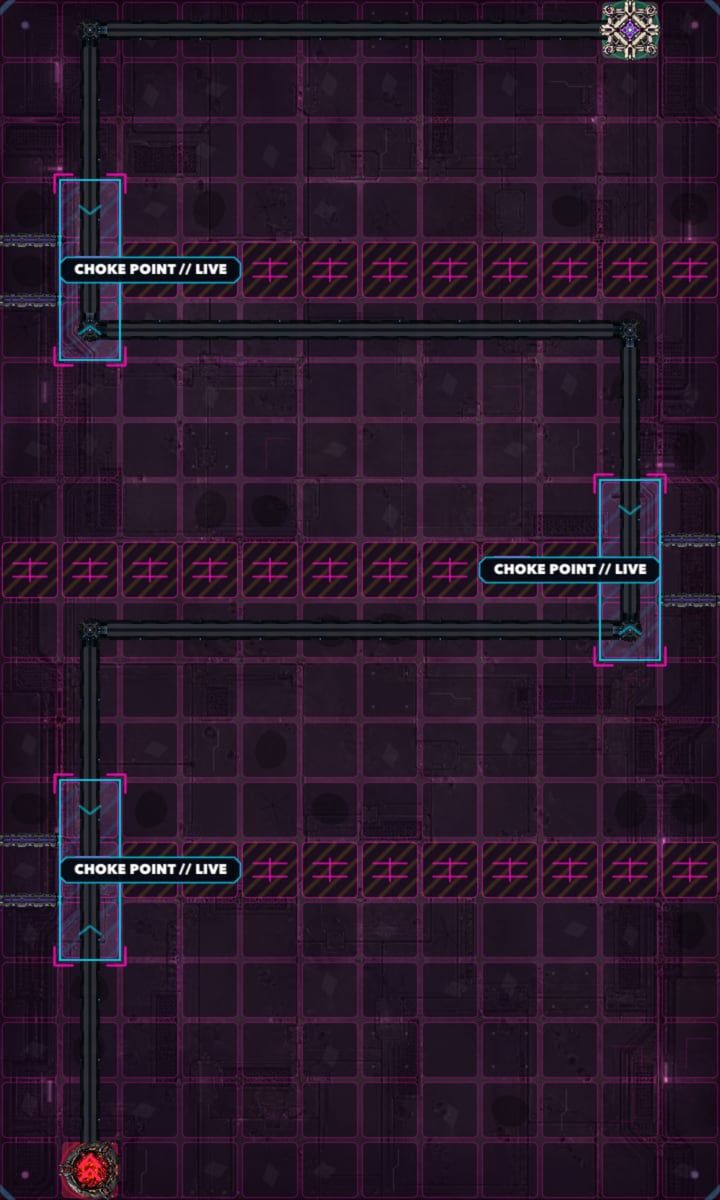
The Serpentine board, captured from the game before wave 1: a magenta grid crossed by three rows of wall that leave one gap each, alternating sides, so the route zig-zags up the board through three choke points marked LIVE.
Battlefield 02 // Switchback Gauntlet
12 × 20

02 / 07 Switchback Gauntlet

Serpentine

Three offset walls force every wave through three alternating single-tile gaps, and each gap opens into its own choke point.

  • Three choke points on one route: keep the Machines winding through all three.
  • The walls are permanent, so your towers decide how long each leg of the switchback runs.
Grid
12 × 20
Entrance
1
Choke points
3
Starting credits
100G
Unlock
Reach wave 20 on Open Field
Mega Boss Coilbreaker Backlash View dossier
Late-wave event · from wave 118 Pace Setter Convoy Leader

A marked Runner speeds ground followers within 15 tiles along its route. Bosses and aircraft are unaffected.

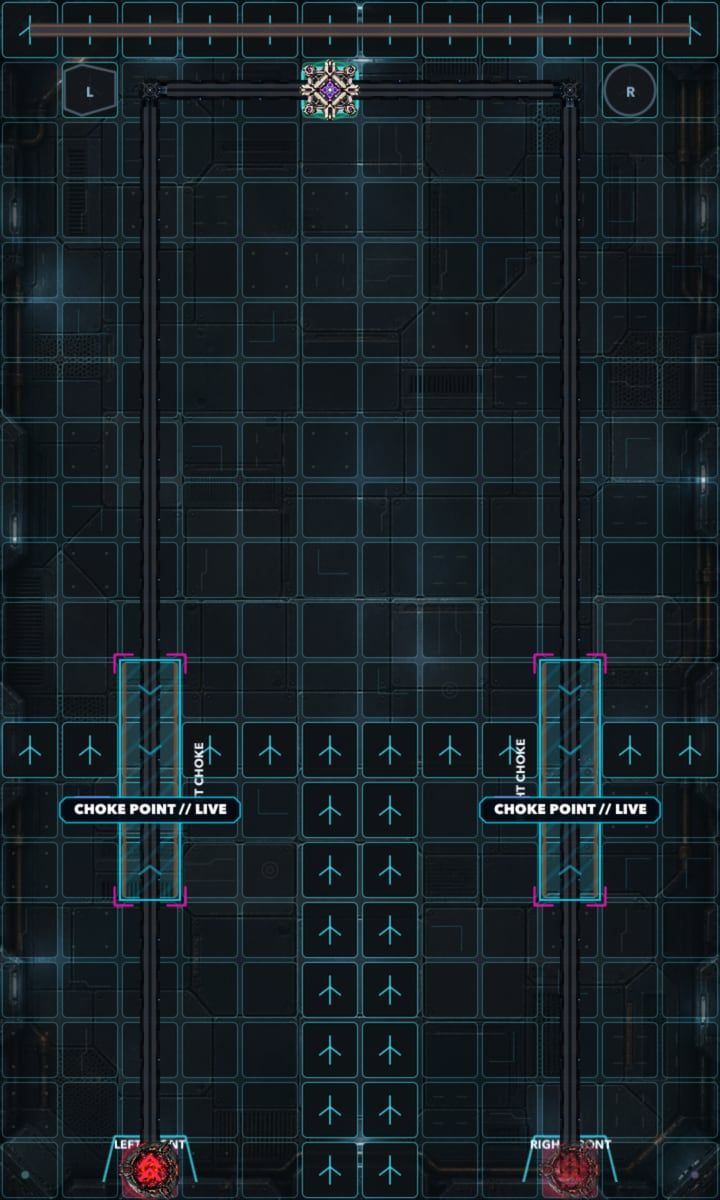
The Twin Gates board, captured from the game before wave 1: a blue grid with two portals in the bottom corners, two routes climbing the outer edges to the Firewall at the top, a choke-point band across each lane, and an aircraft lane down the central divider.
Battlefield 03 // Dual-Front Defense
12 × 20

03 / 07 Dual-Front Defense

Twin Gates

Two fronts, one defense. Machines enter from two gates, west and east, down two lanes split by a central divider that meet in an open bowl below it. Each lane crosses its own choke point, and kills in either one fill the same Choke Control meter.

  • Waves favor one entrance at a time until wave 20, when both gates go active. Watch which gate is sending Machines before you spend your credits.
  • There is no built-in merge: funnelling both lanes into shared firing range is your project.
Grid
12 × 20
Entrances
2
Choke points
2
Starting credits
250G
Bounty
×1.2
Unlock
Reach wave 20 on Serpentine
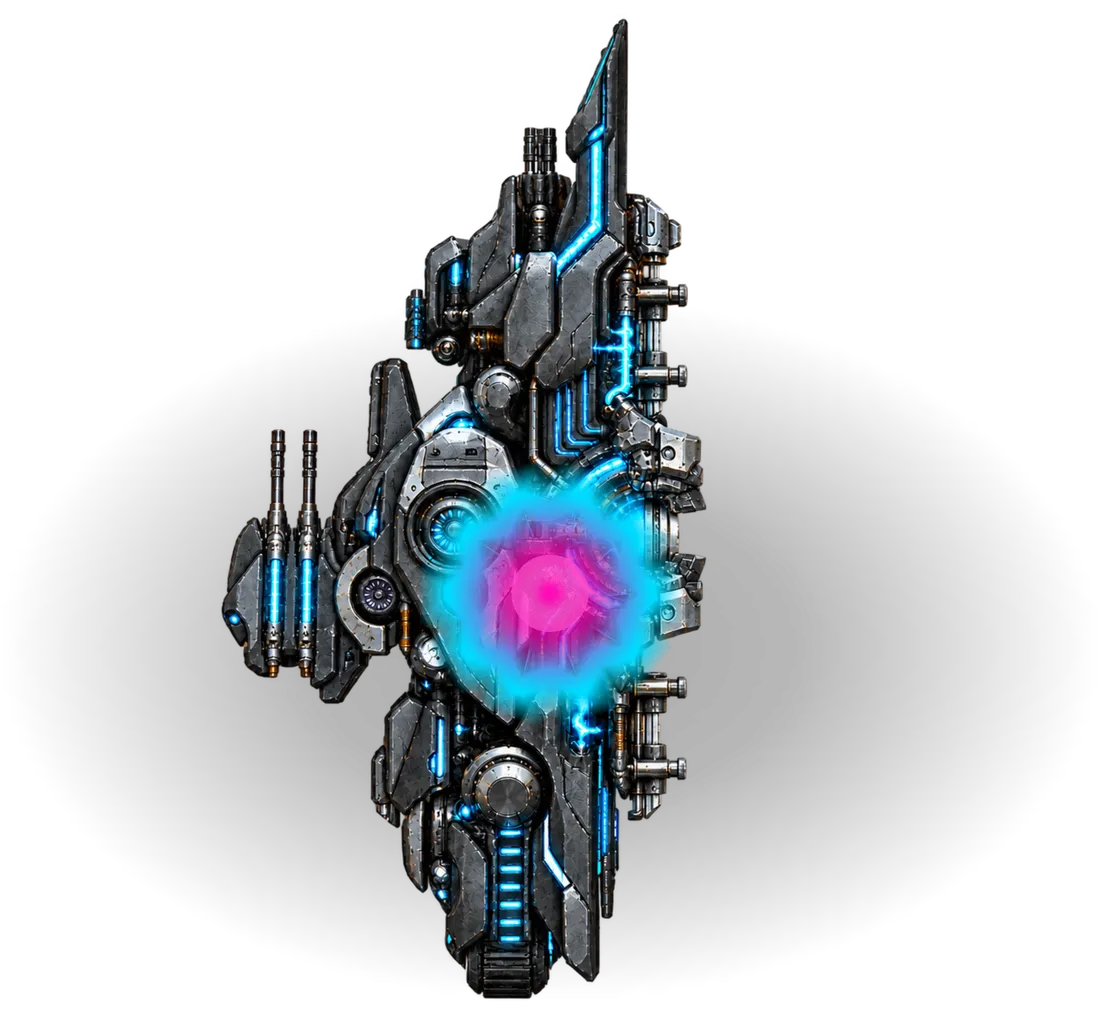
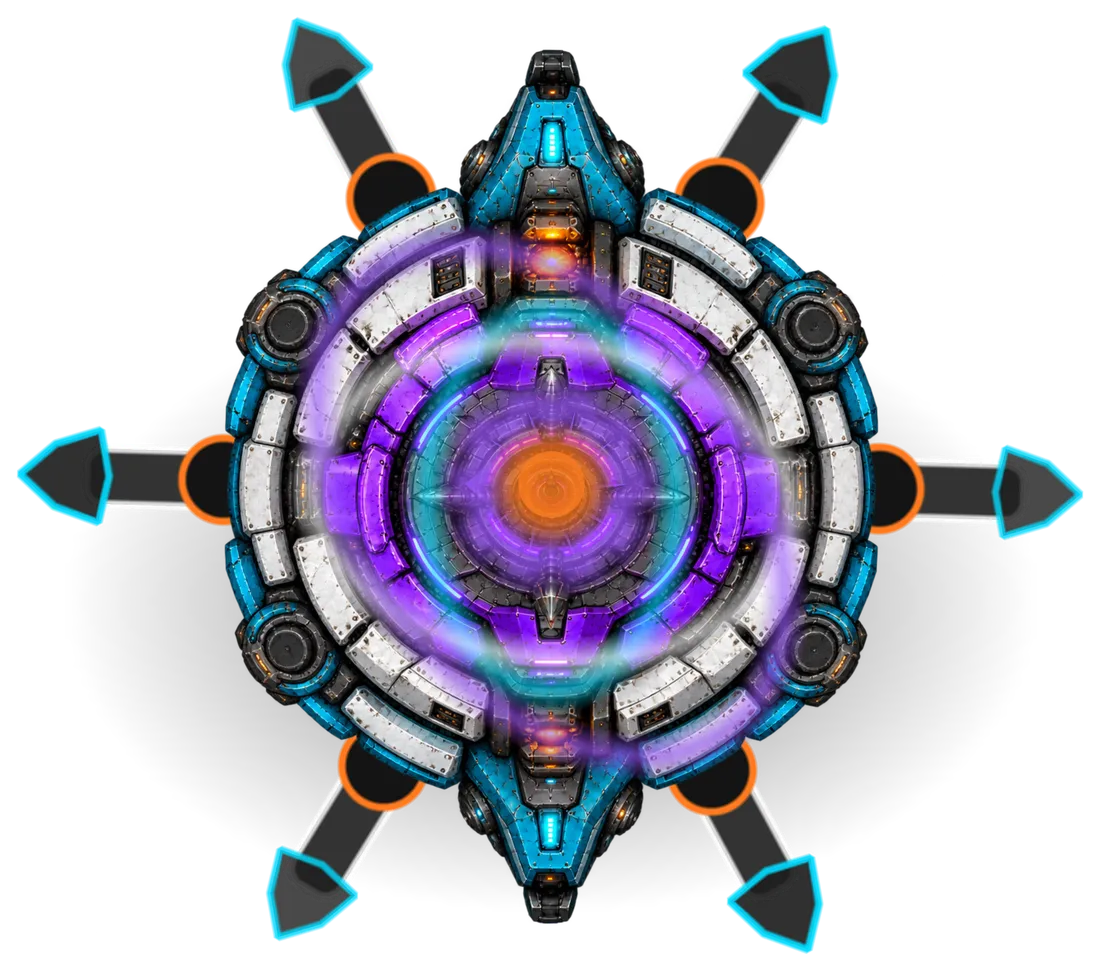
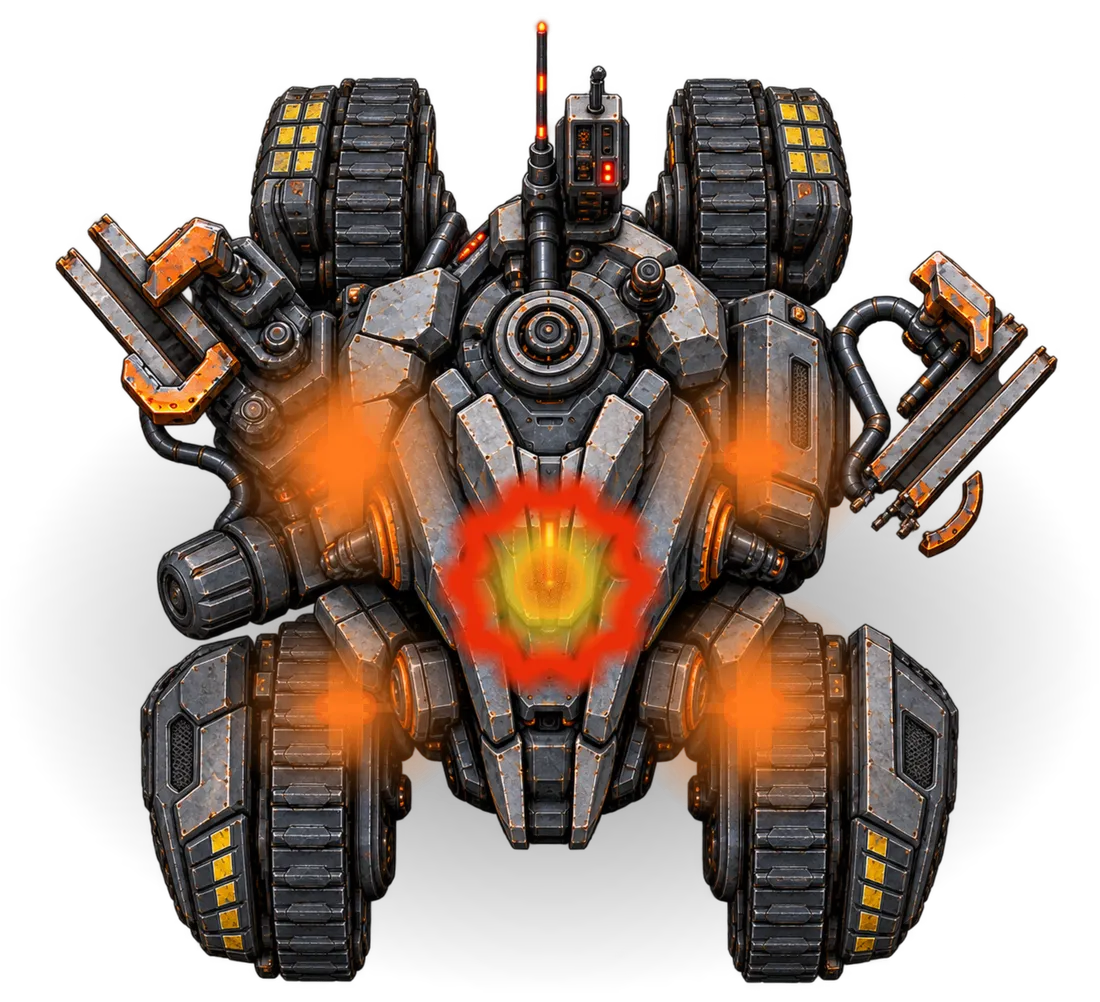
Mega Boss The Dyad Dual Frame View dossier
Late-wave event · from wave 118 Pincer Pair Two-Front Intercept

Two marked Treads deploy together, one from each entrance. They replace ordinary Machines in the wave.

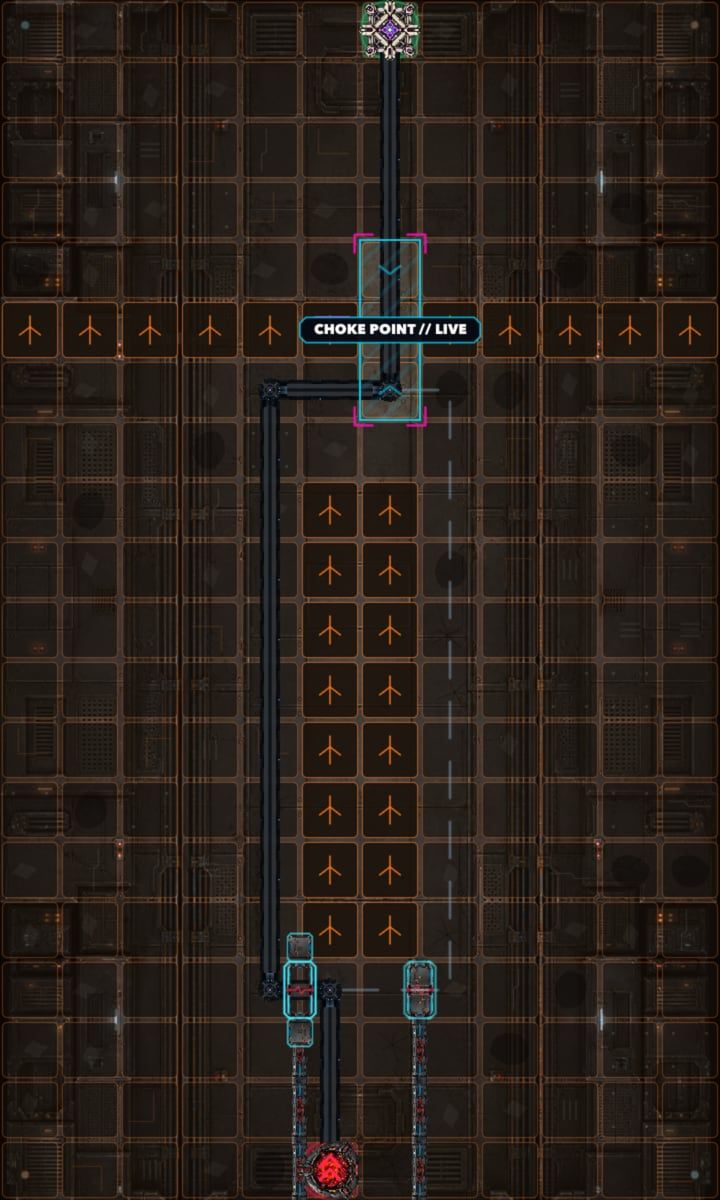
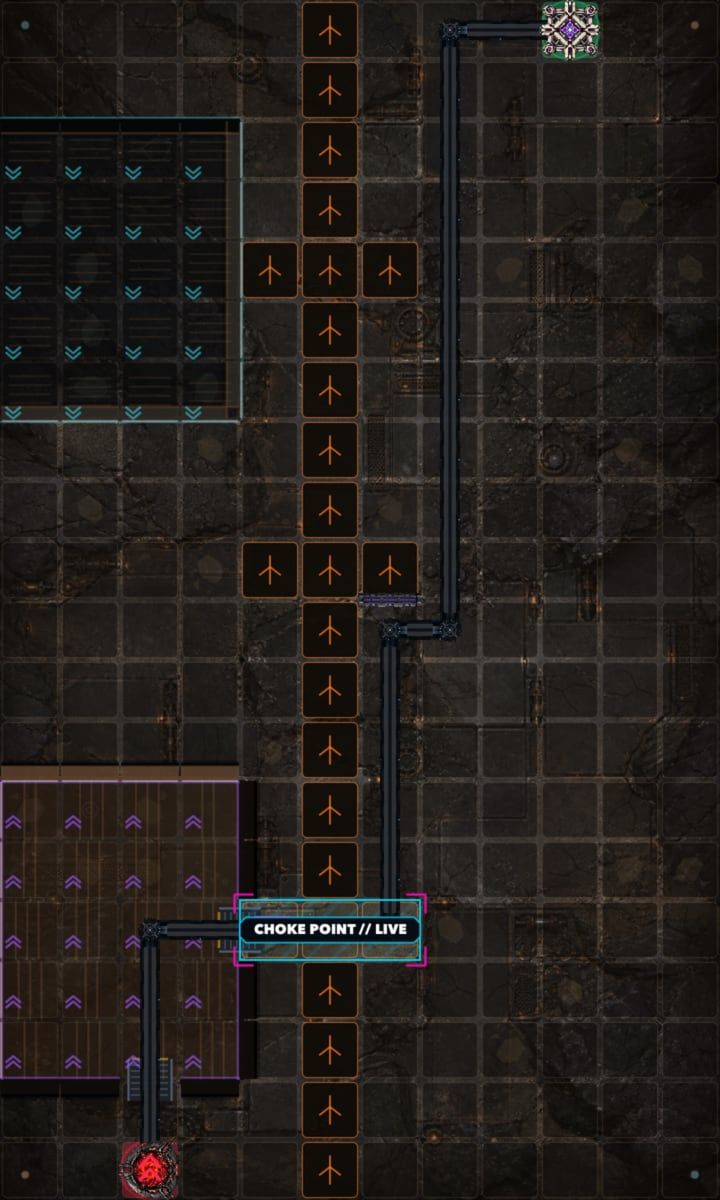
The Switchyard board, captured from the game before wave 1: an orange grid: from the portal at the bottom, two short gated lanes join one route that climbs through a choke point marked LIVE to the Firewall at the top, with orange aircraft markers across the board.
Battlefield 04 // Blast-Gate Control
12 × 20

04 / 07 Blast-Gate Control

Switchyard

One approach splits into two lanes behind a pair of blast gates. Only one gate is open at a time, and the open gate heats up; both lanes feed one choke point.

  • Tap the other gate to divert the wave mid-combat, before the open one overheats.
  • An overheated gate forces traffic to the other lane and can’t reopen until it cools, so build coverage where both lanes meet.
Grid
12 × 20
Entrance
1
Choke point
1
Starting credits
100G
Unlock
Reach wave 20 on Twin Gates
Mega Boss Deadlock Engine Gate Override View dossier
Late-wave event · from wave 98 Priority Freight Routing Opportunity

A marked Treads requests the LEFT or RIGHT gate; reaching that gate boosts Tower fire on that side.

The Ridgeline board, captured from the game before wave 1: a dark grid of raised and sunken violet terrain blocks marked with chevrons, with the route doglegging between two escarpments through a choke point marked LIVE.
Battlefield 05 // Tiered Defense
12 × 20

05 / 07 Tiered Defense

Ridgeline

Tile height changes what a tower costs, how far it reaches and how much health it has, and two escarpments funnel the route through a protected dogleg.

  • Raised tiles cost more to build on but add range and health; low tiles save credits but cost range and health.
  • Put long-range towers on high ground to cover distant routes; on low ground, make sure the shorter reach still meets the path.
Grid
12 × 20
Entrance
1
Choke point
1
Starting credits
90G
Unlock
Reach wave 20 on Switchyard
Mega Boss Strata Warden Contour Armor View dossier
Late-wave event · from wave 118 Low Pass Hive + Gnat Exposure

At the ridge, ground Towers gain an eight-second window against the marked Hive and its newly launched Gnats.

The Faultline board, captured from the game before wave 1: a cracked brown-and-orange grid with raised terrain blocks and orange aircraft markers in a cross, and a route snaking from the portal at the bottom, through a choke point marked LIVE, to the Firewall in the top corner.
Battlefield 06 // Seismic Crossings
12 × 20

06 / 07 Seismic Crossings

Faultline

Every ten waves the fault shifts: the crossing rotates between north, center and south, and tile heights change. Your towers stay where you built them.

  • A NEXT forecast appears two waves before each shift and previews the coming route, choke point and terrain.
  • Each shift brings an extended preparation phase and four free tower moves to cover the new route; unused moves expire.
Grid
12 × 20
Entrance
1
Choke point
1
Starting credits
100G
Unlock
1,500 Intel, a permanent unlock
Mega Boss Faultmason Seismic Claim View dossier
Late-wave event · from wave 118 Aftershock Timed Crossing Trap

The active crossing is marked. The first ground approach within five tiles starts a 5-second simulation countdown.

The Evacuation board, captured from the game before wave 1: a cyan grid with the command core docked on a rail at the top between shelters marked L and R, two routes climbing from the bottom through their own choke points, and an aircraft lane down the middle.
Battlefield 07 // Mobile Command
12 × 20

07 / 07 Mobile Command

Evacuation

Machines attack a command core from both sides, and the core moves. Each front has its own choke point, and kills in either fill the same Choke Control meter.

  • After wave 10 the core moves to the left shelter, changing both routes; later transitions, every ten waves, move it between shelters.
  • Check the NEXT preview, then use the three free tower moves in the 20-second preparation to cover the new paths.
Grid
12 × 20
Entrances
2
Choke points
2
Starting credits
200G
Unlock
1,500 Intel, a permanent unlock
Mega Boss Railjack Bilateral Lock View dossier
Late-wave event · from wave 118 Recovery Rig Redeployment Salvage

Destroy the marked Treads before it escapes to bank one extra Tower relocation for the next shelter shift.

Late-wave events // Any battlefield

Late-wave events

From wave 102, some waves carry an event: a marked Machine to hunt, a bonus to earn or a new pattern to read. These three can happen on any battlefield; each battlefield’s own event is on its card above.

  1. From wave 102

    Volatile Core

    Chain Blast

    One Treads carries a CORE marker. Destroying it blasts nearby ground and air enemies.

    Spend a Supply, or use equipped Focus Fire, when enemies crowd around the carrier. Your Towers are safe.

  2. From wave 107

    Salvage Courier

    Optional Intercept

    A Treads carries marked cargo. Destroy it before the CARGO LIMIT to recover one Supply or Bomb charge.

    Slows and Freeze buy time. Expired cargo stays lost after Rewind. Missing the bonus adds no penalty.

  3. From wave 113

    Surge

    Two-Stage Assault

    This wave arrives in two assaults. Assault 2 enemies move 20% faster.

    Hold a Supply or a slow for Assault 2. The wave readout shows when it starts.

Coming November 2026 for iPhone and iPad

Pick your battlefield

Seven boards, one rule on every one of them: build the route, then make it hold.

Next // Field Guide Mega Bosses All seven Mega Bosses, and how to break each one.